
Potatoes are a widely used item in many cuisines from all around the world—Americans like potatoes in mashed, mounded, baked, and fried forms in their dishes.
Growing potatoes indoors has its benefits – homegrown potatoes are less likely to be affected by diseases than store-bought potatoes. They leave a considerably smaller carbon footprint than the ones grown on industrial farms. Moreover, the process is straightforward, offering you fresh and delicious potatoes all year round!
Let us look at the factors to consider and the steps to follow while growing potatoes indoors.
Factors to Be Considered Before Beginning
Selection of pots – plastic /terracotta pots, polyethylene bags, medium/large sized bins, sacks, or even tires can be used for growing the plant. Ensure that they have holes at the bottom to drain excess water, which can make the soil a watery fuss and retain enough moisture. You can also drill holes in a waste bucket if such a container is not available.
Place – Growth of potatoes requires sunlight for a minimum of five to six hours a day, so windows, balconies, or lawns would make a great place.
Temperature – Though it is a cold-season crop, a temperature range of 45-80 F (7-26 C) is ideal for these plants.
Soil – Light, grainy, and loamy potting soil with a ph 5-6 is ideal for these plants’ growth. However, make sure that the soil is just moist enough, akin to a squeezed wet sponge and not wet.
Steps to Follow for A Yield of Delicious Potatoes
1. Choose “seed potatoes.” These are different from potatoes grown for eating purposes. Seed potatoes are specifically aimed to be planted rather than eaten, and hence they do not contain chemicals that retard the growth of sprouts. Rinse off the dirt from each potato.
2. The easiest way to plant potatoes is to use the potatoes that have sprouted already. If they are not available, keep the potatoes in the windows till they sprout the buds. Ensure that the potatoes do not have more than three or four buds.
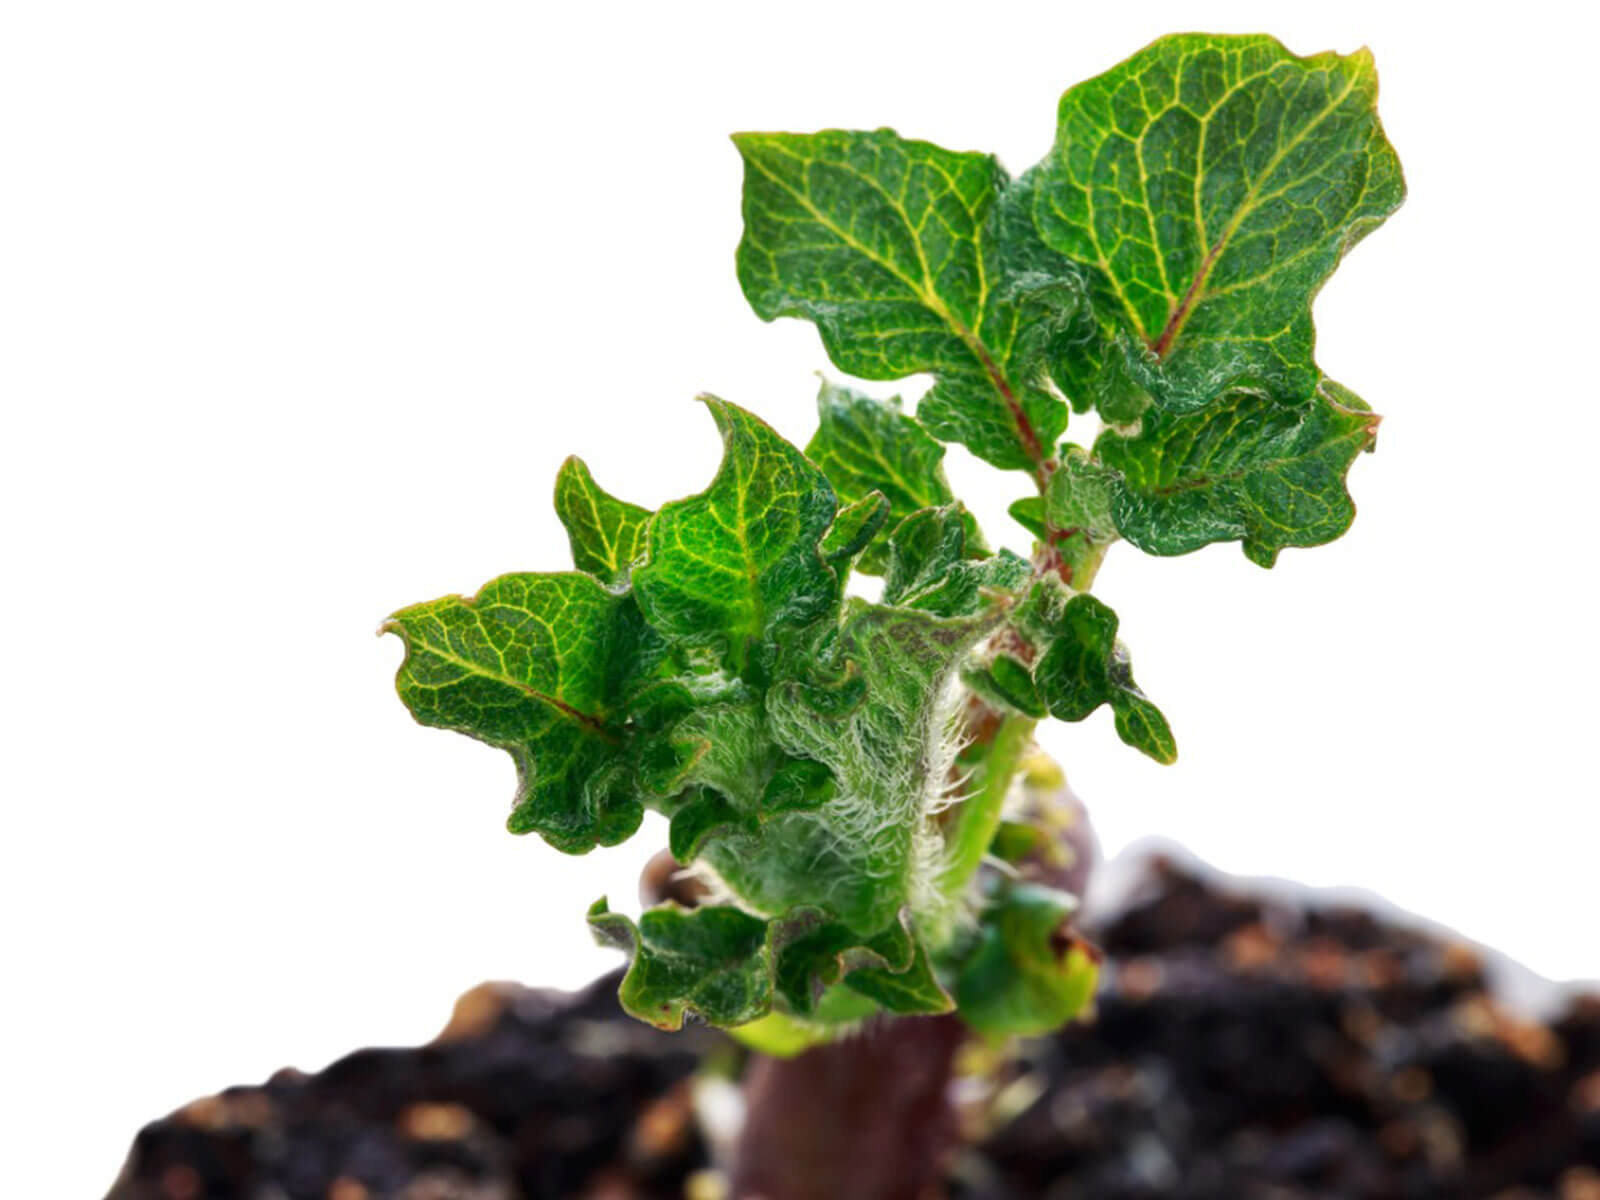
The more the number of buds, the smaller will be the size of the potatoes at the time of harvest. Cut them in half to achieve this number or rub off all except two or three of the buds. If you cut them, allow the sections to dry and heal, taking about three to ten days.
3. To begin with, keep in mind that the potatoes germinate faster in a cool, dark place. You can also use egg cartons or paper bags — they do not need any soil to germinate. Keep the potatoes, a glass of water, and some toothpicks handy. First of all, cut the potato in half so you would cut it in for making round chips. Get four toothpicks and insert them around the potato, making it look like a compass’s pointers.
Ensure that the toothpicks are stuck inside the potatoes in an evenly spaced way; they will hold the potato in the center over the top of the glass of water. Immerse the potato halfway into a glass of water from the side of the potato that you had previously cut. Ensure that the potato does not fully submerge into the water, or else it will not germinate.
Please keep this in the window as it requires sunlight for five to six hours a day for a week until the roots begin to grow. The roots of this potato are long and of an off-white color.
The potato should be balanced evenly over the top of the glass of water. You can adjust the length of the toothpicks that stick inside the potato to achieve this. If the water becomes cloudy, change it, and ensure that the potato is permanently submerged only halfway in the water.
4. Take a pot from any of the options stated above. The pot should have holes at the bottom to ensure the drainage of excess water. Clean the pot by rinsing it thoroughly with water. Fill the pot with potting soil. The soil should only cover about one-third of the pot’s total height.
This is because you will need to keep adding soil to the plant in the later process. So, keep the top one-fourth part of the pot empty at this stage. The ph of the soil should not be less than four and more than 5. A ph of 5.5 would be prudent.
5. While placing the potato in the soil, put it inside so that the roots face down and the sprouts are facing towards the sky. Now, cover the potato with 2-3 inches of soil. This is because potatoes need to be kept away from light to grow. So, conceal them from any light using soil.
6. This needs to be kept in a place where the plant will receive sunlight for at least five to six hours of sunlight every day. If you are using grow lights, then the exposure to light needs to be of at least ten hours to emulate natural sunlight conditions.
7. The moistness of the soil is one crucial factor that most people end up getting wrong. The soil must be moist, not wet. So, keep a daily check on the soil’s moisture levels, do not let it dry out or become wet.
8. As the vine of the plant reaches the top of the soil layer, start adding more soil around the vine. Small potatoes will start growing on the vine. The foliage should be exposed to sunlight, but not the potatoes. Sunlight causes photosynthesis to occur in the potatoes, thereby causing the production of green-skinned potatoes. Here, the process of hilling becomes helpful. “Hilling” is a process in which the soil should be kept adding to the pot to cover the plant.
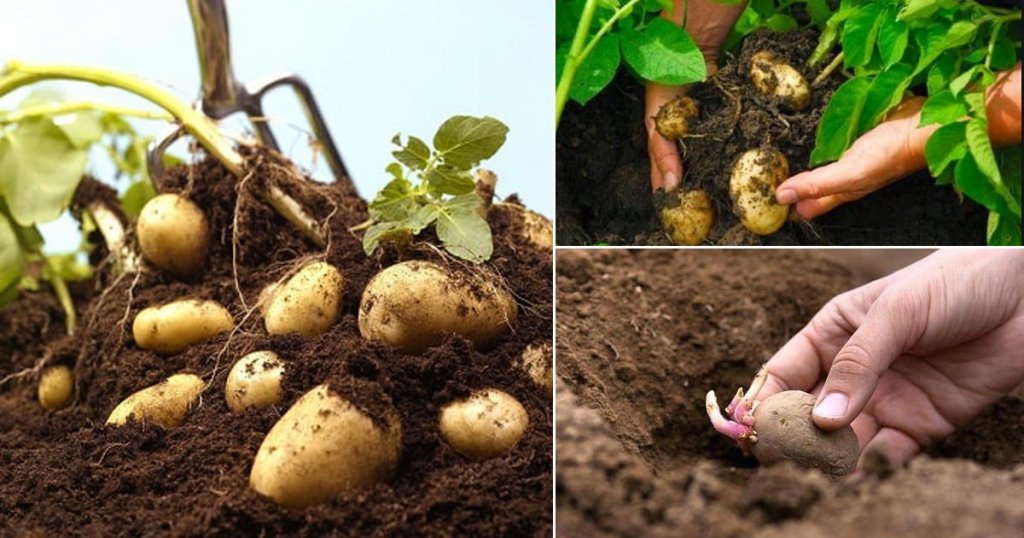
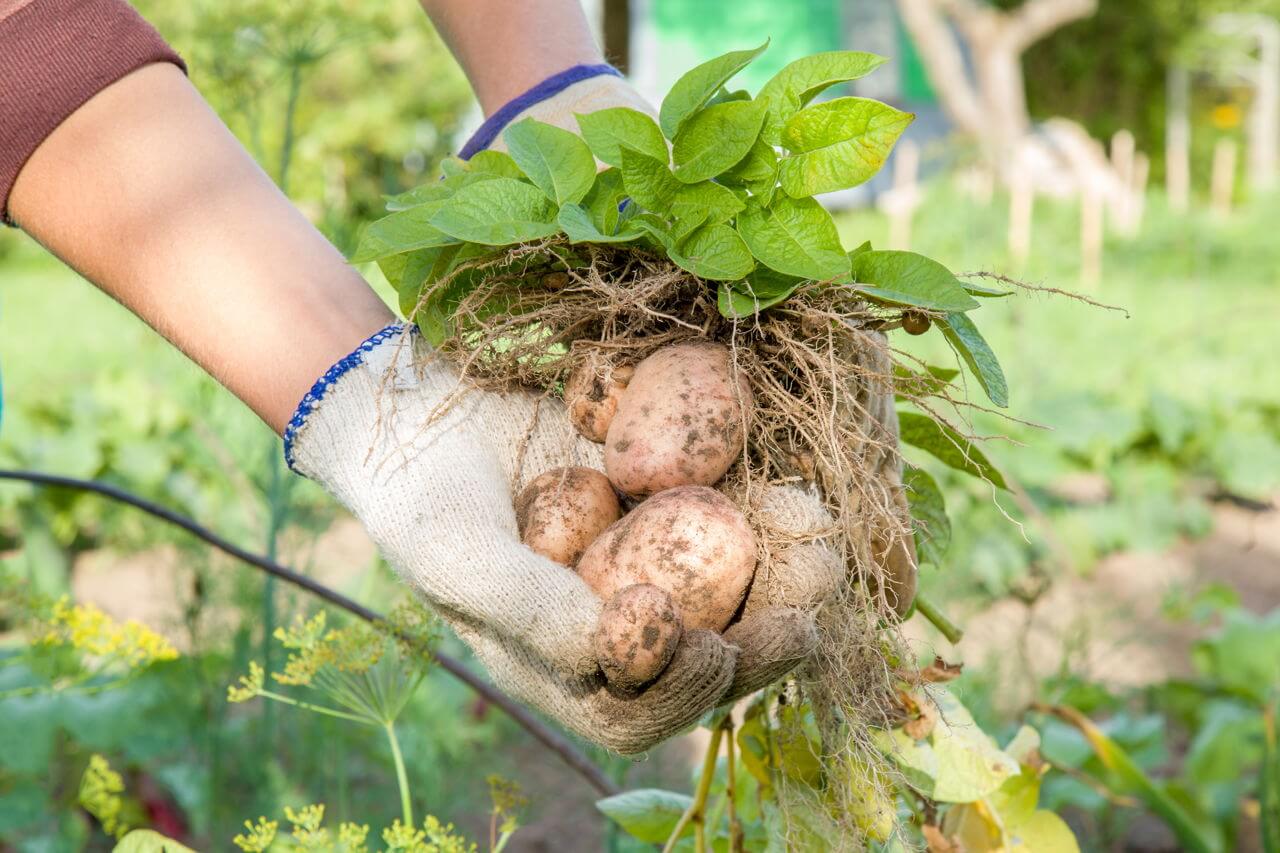
9. When the plant’s leaves start turning yellow, or the plant begins dying, it is an indication that the potatoes are ready for harvest. For taking the potatoes out from the soil, use gardening tools or gently pull the entire plant out of the pot with your hands.
Take off each potato from the vine and brush the dirt off each one with the help of a brush or a cloth. The potatoes’ skin at this stage is very tender, so ensure that you handle them gently not to bruise them.
Baby potatoes are best harvested 2 to 3 weeks after the flowers have bloomed. Matured potatoes should be harvested 2 to 3 weeks after the foliage dies back.
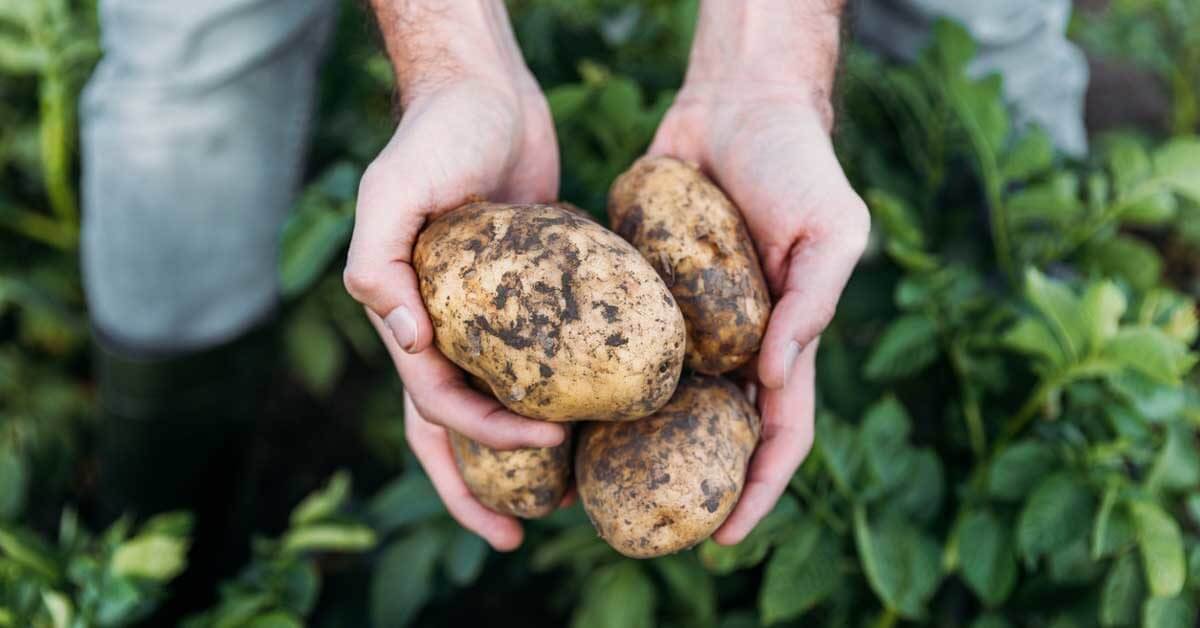
10. Now, let the harvested potatoes dry for a good two to three hours before scrubbing and rinsing them off under clean running water. This is to get the soil off them thoroughly.
11. Store these potatoes in a dark and cool place for at least two weeks; a temperature from 7°C-13°C is considered ideal. This process will help them become hard and last longer. If the temperature condition is not available, you can also use the vegetable compartment in the refrigerator.
The only downfall of this alternative is that it converts the starch content of the potato to sugar. So, make sure that you use the potatoes within a week of harvest if you store them in the fridge. Baby potatoes are best when eaten when they are dug out to get the most of their sweet flavor.
Because potatoes are root vegetables, fertilizers that contain phosphate and potassium are excellent for the plant. Manure made in compost pits at home can also be added to the pot’s soil before the potatoes are planted. This helps strengthen the plants’ immunity to fight off any infections caused by insects or fleas.
Unlike the plucked carrots or many dead grapes, potatoes are still living when you harvest them, though in a dormant state. Warmth and moisture can cause the spuds to start sprouting. That is why you are supposed to keep them in a cool and dry environment.
Growing potatoes indoors gives you the option of choosing from a wide variety of potato species. The most common ones are Russet, Fingerling, Petite Potato, Red Potato, White Potato, Purple/Blue Potato, and Seed Potato.
The Russet, also known as Idaho, a starchy potato with its powdery flesh, is best for baking and frying purposes. The Petite potatoes are cholesterol-free, and they contain more potassium and vitamin C than a banana! The cholesterol-free Fingerling is a good source of vitamin B6, fat, and sodium.
Red potatoes are ideal for sauteing and boiling. Purple/blue potatoes, due to their structure, are best for baking. All these species are straightforward to grow indoors.
We hope this article helped you understand the process of growing potatoes indoors. It is a process that is very easy and worthwhile for the excellent quality of potatoes it offers without the use of chemicals found on industrial farms.
Save this article for when you decide to grow spuds for yourself.