

Discover the endless possibilities of customizing IKEA furniture to suit your unique style.
The IKEA Besta bench is a versatile piece among their vast selection of high-quality options.
This bench can be transformed into a functional and stylish addition to any room with some creativity.
This guide dives into various IKEA Besta bench hacks, especially focusing on adding a DIY cushion for extra comfort and flair.
The Versatility of the IKEA Besta Collection
The IKEA Besta series is more than just storage furniture; it’s a versatile collection that can be anchored to the wall for safety.
Its range includes options for various spaces like bedrooms, living rooms, and kids’ rooms.
From a sleek TV unit and practical kids’ storage to an innovative windowsill unit that doubles as seating, the Besta series offers something for every need.
This versatility makes it an ideal candidate for a creative IKEA Besta bench hack, allowing you to personalize it for any room.
Endless Customization Possibilities
Unlock your creative potential with the IKEA Besta bench. This piece invites a plethora of customization options.
Consider painting it to match your decor, swapping out the door material, or choosing a different color for a dynamic appearance.
The addition of unique hardware like handles or knobs can transform its look entirely.
For those who love DIY projects, techniques like chalkboarding or stenciling offer a chance to create something unique.
Explore these ideas, find what resonates with your style, and let your inspiration guide you in your IKEA Besta bench hack journey.
Option 1: Contemporary IKEA Besta Bench Hack
Transform your space with a modern and cozy bench that offers ample storage – ideal for homes with children or those who appreciate extra space.
Follow these instructions to craft a stunning piece tailored to your home’s needs.
Materials Needed
- IKEA Besta bench
- Plywood or MDF board
- Decorative knobs
- Fabric of your choice
- High-density foam
- Batting
- Drill
- Wood screws
- Staple gun
- Spray adhesive
- Scissors
Step-by-Step Instructions
- Start with a 2” x 2” lumber frame, leaving an inch on each side for molding. Install 2” x 20” support beams for each cabinet section.
- Assemble your IKEA Besta bench following the provided instructions. Position it on the base and securely connect the cabinets using wood screws. Use clamps for precise alignment.
- Firmly attach the cabinets to the base.
- Create and affix doors, drilling holes for the addition of knobs. Choose knobs that complement the style of your room for an added touch of elegance.
Customizing and Upholstering Your Bench
Choosing the Right Knobs: Knobs may seem like a small detail, but they significantly impact the bench’s overall aesthetic. Opt for old metallic knobs for a vintage feel or leather ones for a modern look. Match the knobs with the room’s theme for a cohesive design.
Adding Moulding: Attach the molding to the base using finishing nails or wood glue, whichever you find more convenient. This adds an elegant finish to your IKEA Besta bench hack.
Upholstery Steps:
- Lay out the fabric on a flat surface and smooth it out. Place batting over the fabric.
- Apply spray adhesive and carefully position the foam in the center, leaving about 5-6 inches of fabric on each side for wrapping.
- Place the plywood over the foam, ensuring it aligns perfectly.
- Staple the batting and fabric to the plywood, maintaining an equal distance between staples for a neat finish.
- Finally, attach this upholstered top to the bench using wood screws for a comfortable and stylish seating area.
Option 2: Another IKEA Besta Bench Hack Variation
Explore another way to personalize the IKEA Besta bench to suit your needs. This method focuses on a different approach to upholstery and attachment.
Materials Required
- IKEA Besta bench (frame only, if possible)
- High-density foam
- MDF board
- Upholstery fabric of your choice
- Velcro strips (Hook and Loop type)
- Spray adhesive
- Staple gun
Instructions
- Assemble the IKEA Besta bench as per the included instructions.
- Attach the high-density foam to the MDF board using spray adhesive.
- Measure and cut the upholstery fabric, allowing an extra 5-6 inches on all sides for wrapping. Vinyl is a practical option for easier cleaning or choose from IKEA’s range of affordable fabrics.
- Optional: Add a layer of old cotton cloth under the upholstery for a smoother finish. If using, repeat the measuring and cutting process.
- Use a gift-wrapping style to ensure the material is snug and even. Alternatively, explore other wrapping methods to achieve different aesthetics.
- Secure the fabric around the foam and board, pulling it tight and stapling securely. Imperfections in stapling won’t be visible.
- To prevent the cushion from sliding, attach it to the bench frame using Velcro strips. Ensure a strong bond by using a robust adhesive.
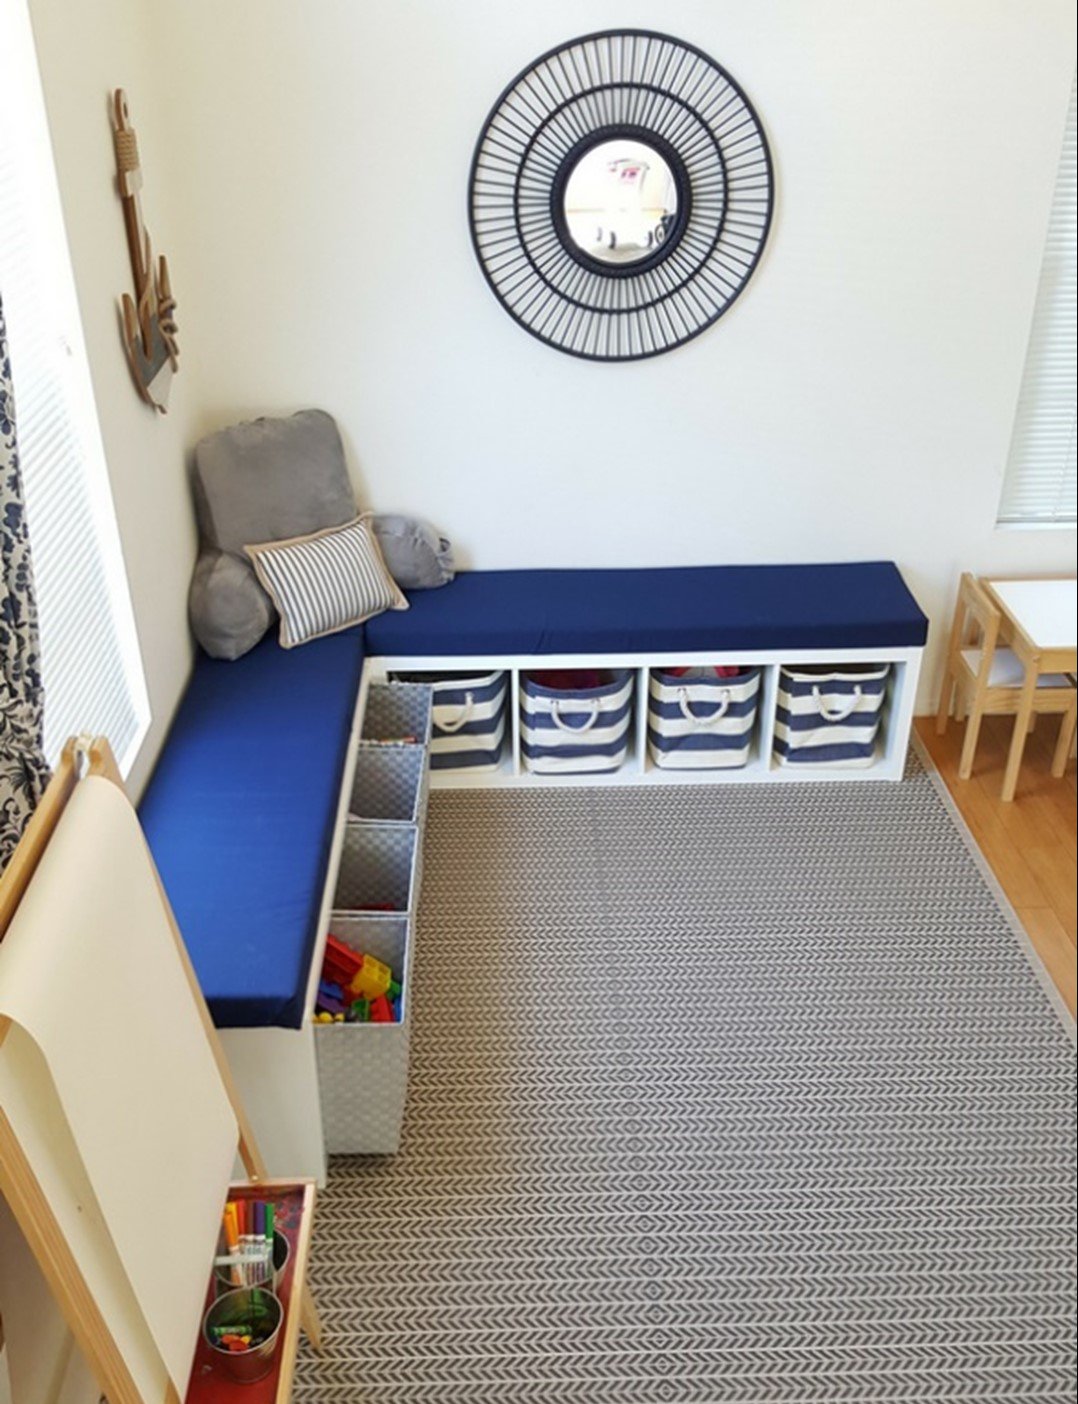
Maximizing Limited Spaces with an IKEA Besta Bench Hack
This IKEA Besta bench hack is perfect for spaces where every inch counts.
It’s designed to serve as a multi-functional living room sofa with ample storage options.
- Consider using baskets or boxes for storage under the bench. This setup can transform into a play area or a mini-library with comfortable seating.
- To start, select IKEA Besta benches, known as Kallax or Expedit. For a complete set, purchase six legs and attach them to the ends and middle of each bench.
- Measure and cut the foam to fit the bench. A kitchen knife can suffice for this task.
- Cover the foam with quilt batting, securing it with a staple gun. Ensure it’s stretched evenly over the foam and MDF board.
- Follow the same process with your chosen fabric to create a cozy sitting surface.
- Finally, attach the cushion to the bench from underneath using 3-inch screws.
This approach offers a stylish seating option and practical storage solutions, making it ideal for smaller living spaces.
Adaptable and Stylish IKEA Besta Bench Hacks for Various Spaces

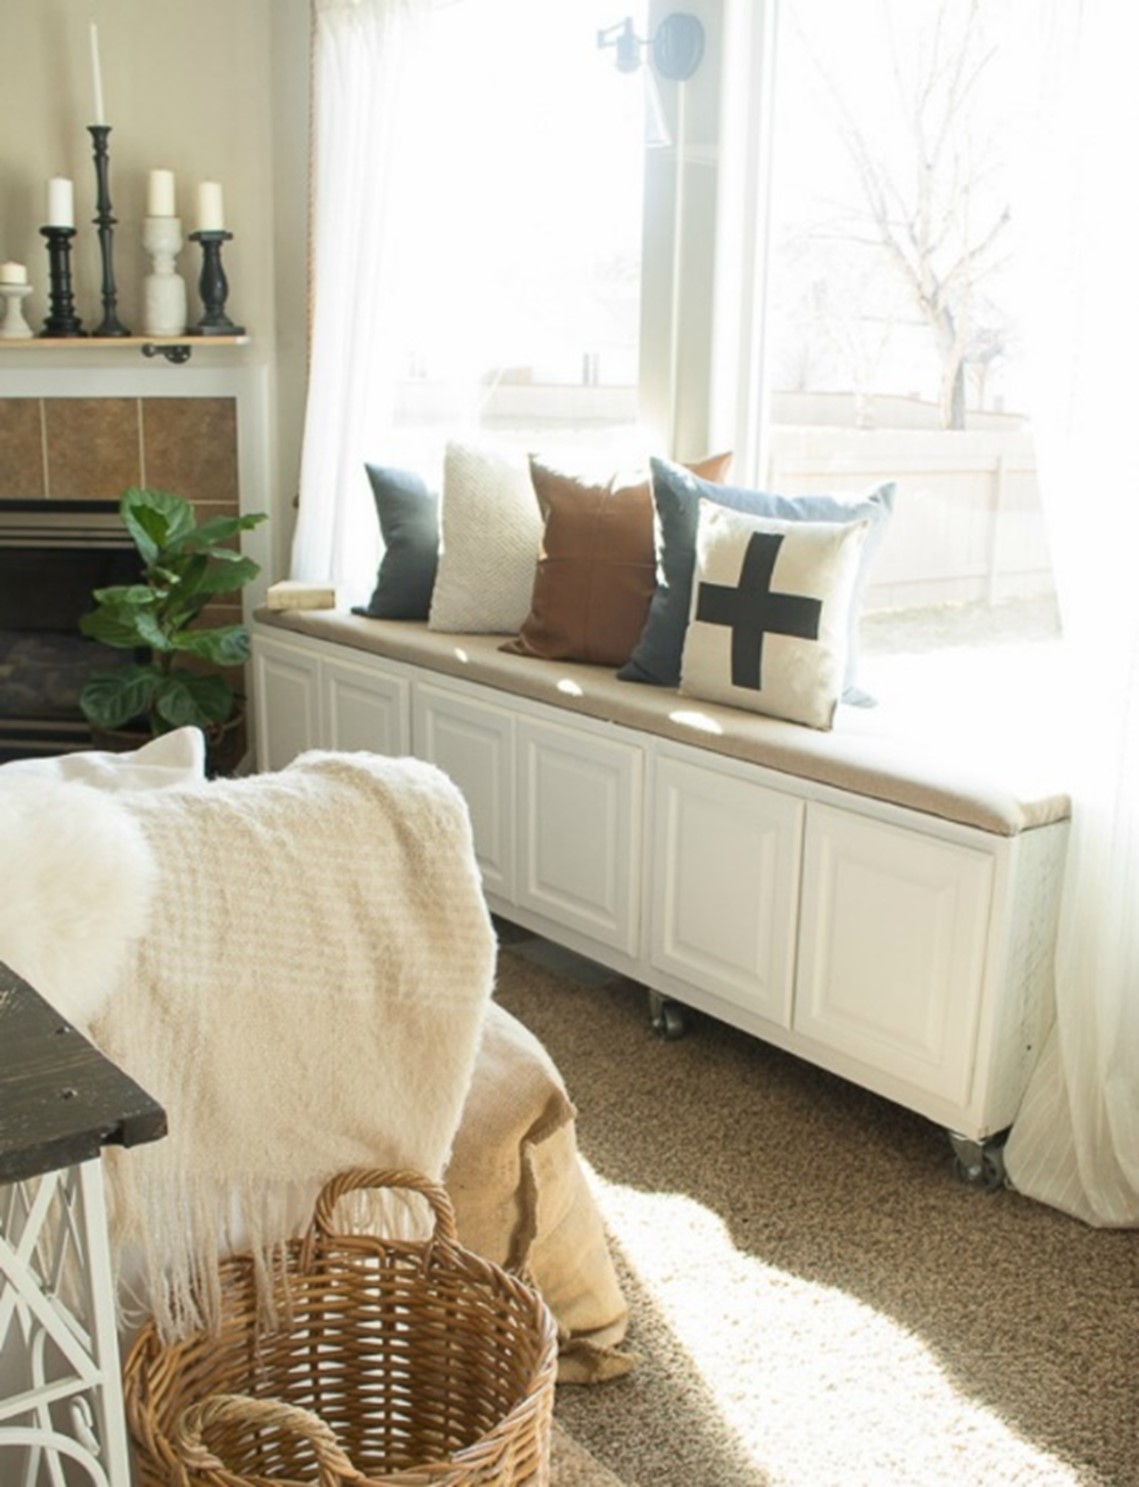
The IKEA Besta bench is versatile and adaptable to various living situations, including rental homes or frequently changing residences. Add wheels to your bench for easy mobility, transforming it into a convenient and portable furniture piece.
- Consider repainting the cabinet doors or replacing them with blackboards for a fun, kid-friendly touch or transparent glass for a chic display.
- Pay attention to the color palette. Choose colors that complement the rest of the room, enhancing the aesthetics while ensuring functionality with hidden storage.
- A bench styled as a daybed near a window can be a serene retreat. Add an area rug, cushions, and a night lamp for a cozy, inviting space.
- A bench is a practical spot for entryways for sitting and managing footwear. Incorporate storage options like baskets or boxes underneath for shoes and essentials. Accentuate with a plant and select cushion fabrics that harmonize with your home’s theme.
- Each of these IKEA Besta bench hacks offers a unique way to enhance your living space, whether you seek functionality, style, or both.
- Experiment with different upholstery fabrics and cushion designs. A free-standing bench can be placed near a wall or window, based on your preference.
- Create a cozy reading nook with the bench by adding comfortable cushions, a fluffy blanket, and perhaps a writing board or your favorite pictures at the back.
- For those who prefer a firmer top, opt for a bench with a hard surface and a few simple cushions for texture and comfort.
- Enhance the setting with hanging lamps and a beautiful vase for a harmonious look in living rooms or bedrooms.
Summing It Up
Undertaking an interior makeover can be both thrilling and daunting.
View it as an exciting challenge. You’re set to achieve remarkable results with guidance in our articles and a sprinkle of your creativity.
Remember, the key to a successful IKEA Besta bench hack is personalization.
Merge your favorite ideas from different inspirations to create a piece that uniquely fits your needs and style.
This approach is far more rewarding than simply replicating a single idea.
We hope you enjoy your IKEA Besta bench makeover journey. Happy hacking!