
The mealworm beetle, or Tenebrio Molitor, in its larva stage, is known as a mealworm. They are renowned for their use as a feeder for domestic pet animals like chickens, fish, birds, reptiles, and so on. While a lot of mealworms are not required to feed just one animal, you would soon require a lot more when you have multiple animals to feed. You’ll need to start your own mealworm farm to save money. However, initiating your own mealworm farm is not as daunting as it might seem.
Growing mealworms is a smooth and rapid process – one of the prime reasons for them being so popular, especially among farmers and animal carers. The expenses are feasible and the level of expertise required is not very high. Follow the right steps and soon you will have your very own group of fully-grown mealworms, ready to feed to others. However, green or black caterpillars are not covered under the species of worms.
Mealworm Life Cycle
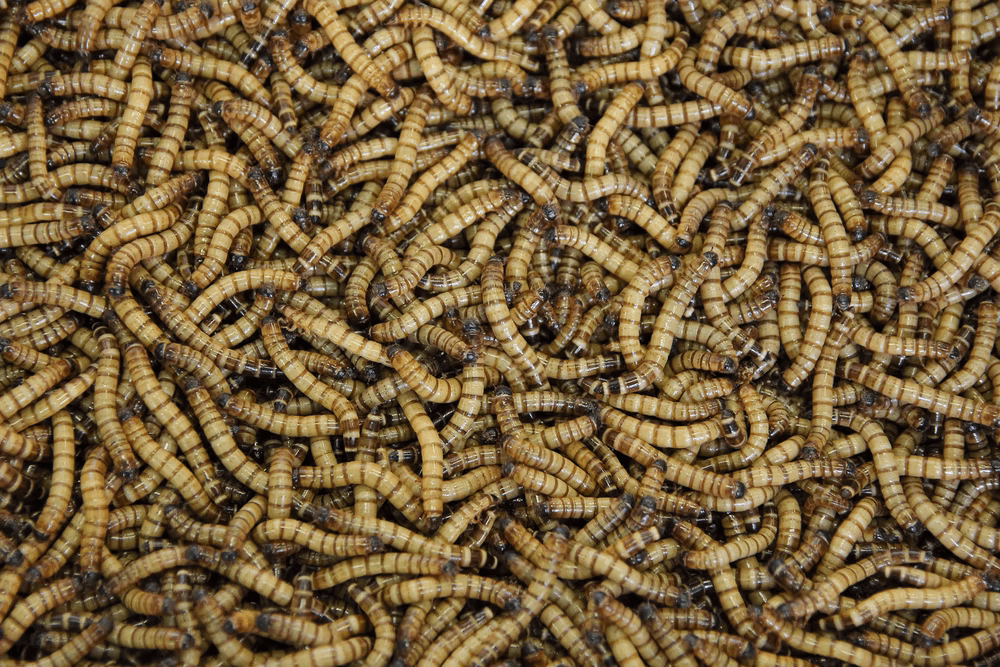
Mealworms, like every other holometabolous insect, have a life cycle of 4 stages: egg, larva, pupa, and adult. The first stage is when the mealworms lay their eggs within themselves which stays for about a week. This process is known as incubation and leads to the larvae being born. This is the most important stage for mealworm farmers as they do not necessarily need these worms to go past this stage.
The larvae look very similar to the adults with only being smaller in size. These insects are extremely agile and actively look for food when hungry. They grow rapidly and within a short span of time (approximately a month) they molt as much as two dozen times during this stage. After this, their bodies begin transitioning into the next stage: a pupa. We do not have to worry about this stage, as only the larva phase is of interest for feeding animals. In case you are wondering how to raise mealworms, don’t worry! There are plenty of resources online to guide you through the process.
Mealworm Diet
Mealworm farmers have to ensure a decent supply of food for the proper growth and maturation of mealworms. It is not difficult to feed them up, which can be greatly beneficial for you down the line.
Feeding mealworms is not a troublesome task. There is a vast assortment of food that is nutritious for these eerie little creatures. The best method is to fill their artificial containers with food and let the worms grow within the food. In fact, the food is basically their habitat and will continue to be so until you remove them or the food is totally consumed.
The most common substrate, or mealworm food, is oats. You can also use wheat bran or flour, cereals, cornmeal, and a few more similar types of food. The entire floor of the container needs to be covered or else some of the worms might fall off and may not make it back into the substrate. The food does not need to be totally fresh. You can use old, expired components if you want.
Make sure the substrate is not completely dry, as the mealworms need minimal amounts of moisture to survive. You should add secondary food along with the substrate to contribute to the moisture levels inside the container. Examples include small pieces of carrots, apples, or potatoes. Lettuce and green leaves that remain rigid for long are also great alternatives. All you need to make sure is that the secondary food does not decompose too fast. For instance, a banana is a bad choice, as it decays really fast.
Mealworm Farming Procedure
This section focuses on the procedure you should follow to set up your own mealworm farm for fishing. Below is a descriptive list of steps that you should adopt.
Put Together a Container
Perhaps the most essential aspect of mealworm farming is the container needed for the worms to develop inside. There is no definite standard in the shapes of these canisters as it depends on the number of worms being grown. We suggest you get a transparent aquarium to monitor them from the outside. Make sure the top lid allows airflow into and out of the container. Without proper ventilation, the worms will have difficulty growing, or might simply start to die.
Once the setup is complete, place the container in a dark environment. The location does not need to be spacious. Just ensure the temperature is consistent (around 80 degrees) and the area is safe from pest infestation. It is crucial to maintain this high temperature, which is slightly troublesome during the winter season. Some mealworm farmers use a heat mat to sustain the heat.
Deposit the Substrate
Once the container is ready, a good amount of substrate. Fill the container up to about 3 inches with the mealworm food. Make sure the interior is clean before adding the food. In fact, you need to ensure the substrate is germ-free by heating it for about half an hour. The type of food you use depends on your choice. We have mentioned a few ideal examples previously in this article.
Add the Mealworms
Once the container and substrate is ready, purchase your mealworms from a trusted source. Research on types and brands before actually going out and getting them. Take professional advice if you are unsure of what to buy. Adding unhealthy mealworms into the mix can cause adverse effects to the entire system. Pour them equally in all the portions of the substrate to ensure a balance. Spread them out proportionally for maximum effect.
Nurture the Mealworms
There is no standard limit of food that you can provide them with when nurturing them. The more you give, the more they grow! Make sure the substrate is not thinning due to rapid consumption. If it is, simply add more. Mealworms do not need fresh food or constant care. Give them sufficient food, and you can ignore them for days.
Gather the Mealworms When Ready
Finally, you can start collecting the mealworms once they are mature and starting to transition into the next stage (pupa) of their life cycle. You may find a few that have already turned into pupae or adults. There is no need to remove them, as they would help in reproducing the next generation. For removing the larvae only, try placing a single, solid food into the container. They will quickly begin to gather around it – making it easier to collect them all in a few scoops.
Final Thoughts
The animal kingdom is vast, containing a variety of classes that have been intriguing to human beings for ages. The simple process of mealworm growth is highly exciting to just monitor. They have great value to ardent fishers and are always in demand in the animal feeding industry. Live mealworm bait is extremely effective for fishing. Dip some mature worms into the fishing pond instead of half-dead, unhealthy ones and you will surely see the difference. We hope this article has inspired you to start your very own mealworm farm!