

The popular baseball game is probably played and loved by every generation today.
If you are a baseball lover, you might know how much fun it is to play a baseball game.
However, if you are a field owner or have a lawn to play baseball, you would know how difficult building a pitching mound is.
A pitcher’s mound plays an important role in the game, requiring the most attention in the field.
While you might sometimes ignore the necessity of a nicely built pitcher’s mound, it is always required to keep it maintained and perfectly built.
The reason for this is obvious. Your pitcher will not be hurt or injured while playing in a field with a properly built pitching mound.
Also, it will allow everyone to enjoy the game rather than concentrating on a bad pitching mound for safety purposes and give you a home-field advantage.
DIY Pitching Mound: What Will You Need?
Before you jump on how to build a pitcher’s mound, you need to know what materials will be required in the process.
Here, we have a detailed list of your needs while building a pitching mound.
All these materials and tools will make your work much easier and simpler.
Moreover, the equipment required to build a pitcher’s mound is simple and easy to find.
You will need a square-faced shovel or spade, a large nail or spike, a plateau frame, a mound slope board, a two-foot carpenter’s level, and a carpenter’s square.
You will also need a pick, a wheelbarrow, specialty packing clay, and a landscape rake.
Tamp, four-foot 1″ × 4″, mound clay, measuring tape, and a four-sided rubber will also be needed.
Learn more about the process after you have all these materials and tools.
Building a Pitching Mound
Let us get started on how to build a pitcher’s mound.
For most fields, like a high school or a professional field, the front of the pitcher’s plate (rubber) should be measured 60 feet 6 inches from the apex of the home plate.
The top of the pitcher’s plate should be 10 inches higher. The pitcher’s plate is also 24 inches long.
Here are a few steps to obtain proper distance, height, and alignment.
- Take a pencil to mark a line at the center for the pitcher’s rubber length.
- Take a string to the second base peg from the home plate’s topmost point.
- Now, you will have to mark the front of the rubber. For this, sink a spike after measuring 60 feet 6 inches from the apex of the home plate.
- Use a transit level to obtain a reading off the home plate. Ensure the top of the pitching rubber is 10 inches above the home plate. You can add or reduce the height of the mound.
- With a measuring tape, square the rubber’s position and measure the corners from the home plate to the corners of the pitcher’s rubber (on both the left and right sides). If these measurements come equally on both sides, they will be squared. If you are building a mound from scratch, putting a solid block under the rubber is advisable so it does not shift.
Building the Collar of The Mound
After establishing a good pitching rubber, it is time to give it a nice outline. Keep reading to know how you can get a great 9-foot radius easily.
- From the front of the pitcher’s plate, measure a precise 18 inches and drive a spike. Make sure it goes exactly in line with the center of the pitcher’s plate because this makes the center of the mound.
- Attach a string to the above-told spike and measure 9 feet from it.
- Make the final outline by circling the mound and keeping the string taut. Make this circular outline with 18 feet diameter.
- To establish a permanent mound outline, remove the turf from the outline you made previously with the help of an edger or a spade.
Pitcher’s Plateau

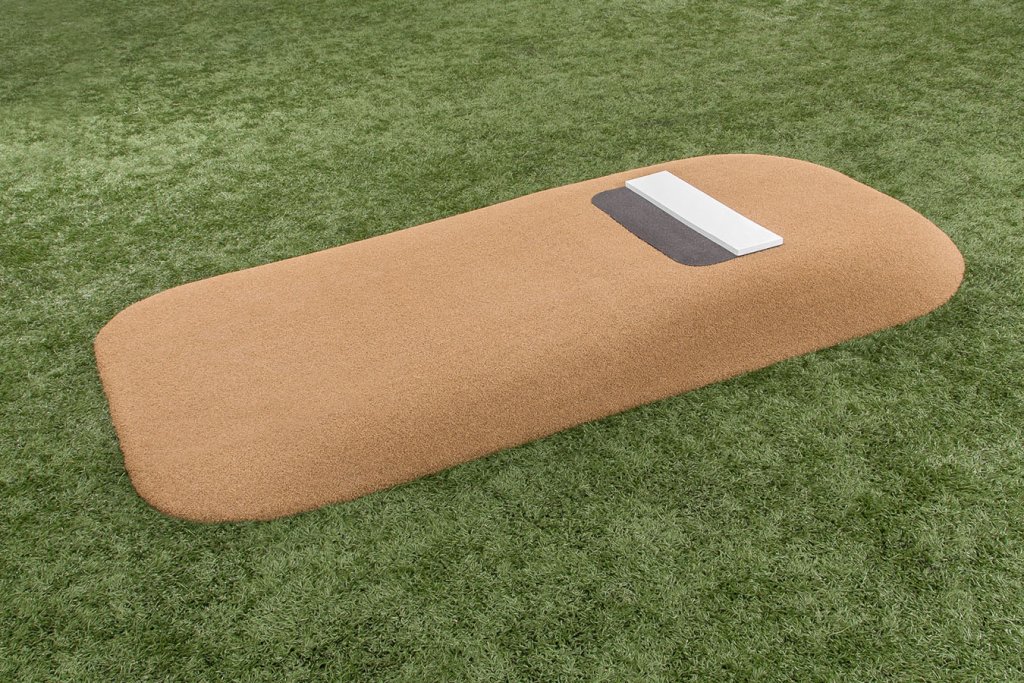
When you build a pitcher’s mound, it should be surfaced on a slope with a leveled and firm plateau and not built like a sharp peak. The plateau should be leveled with the top of the pitcher’s plate and 5×3 feet in measurement.
- Place the plateau frame on the pitcher’s mound.
- The inner frame should be placed so that it leaves 6 inches in the front, 24 inches in the back, and 18 inches on both sides of the rubber.
- Take a nail and trace the inside of the frame in the clay.
- Now, remove the frame carefully from the mound.
- Remove the existing soil from within the outline to a considerable depth with a pick. One layer of blocks will be needed for all levels. When it comes to the clay, it should be 4 inches thick for younger and smaller players and 6 inches thick for professional or high school players.
- The new clay must bond strongly with the existing soil when you put in the new clay. For this, you can scarify the soil at the base of the hole. You also need to scarify or loosen up the soil on the edges of the outline you made. Use a square-faced shovel or a spade for this.
- Place the frame back in place. You can also re-measure now to assure yourself.
- Once the frame is in place, you can add blocks or professional mound clay.
- Here is where products like Turface Professional Mound Clay and MoundMaster Blocks come into action and help you. You can completely rely on these recommended professional products when building a pitching mound professionally.
- If you use the surface professional mound clay, add a layer of an inch at a time and tamp to add firmness. Instead of tamping, you may also use a vibrating asphalt compactor. It will save a lot of your time and energy. Scratch the existing soil and mix it with the layer of clay you added to make a strong bond. Repeat tamping the clay layers until you reach the desired height.
- If you plan to use the MoundMaster Blocks, dig in the ground up to 2 to 3 inches deep. Place the mound master blocks into the hole. Ensure the blocks are placed around half an inch deeper than the rubber. Once they are set in the right place, water them and smear their seams together with the pieces of the blocks soaked in water or with a trowel.
- When tamping the front of the plateau, do not tamp carelessly with too much pressure because it may disturb the rubber.
- After completing the construction process, slowly remove the plateau frame, remembering that you do not break the edges.
- Once your mound is made, cover it with a light coating of infield mix over the clay. You can take the help of a rake for this process and products like the Turface MVP league.
The Mound Slope

Building a pitching mound with a proper slope is important to ensure the safety and movement of any bases.
The general rule for a pitcher’s mound at considerable height claims that the slope from the plateau’s edge to the mound’s edge can be dropped by an inch at every foot.
Follow these simple steps to attain a good slope.
- Start outlining the landing area from the front corners of the plateau and go outward towards the turf. You can do this with a large nail or spike.
- Loosen the existing soil with a pick to ensure the mound-building soil bonds well.
- If there are any lumps, remove them with a shovel or rake to ensure good work.
- Take the 1″ × 4″ and place it on the top of the rubber and extend it to the right edge of the plateau. Place this board so that it goes parallel to the rubber, and the four-inch surface of the board is on the surface.
- Along the right outline of the landing area, place the ten-foot 2″ × 4″. Place it in such a way that its top gets placed on the four foot and the bottom of the ten-foot board gets placed at the base of the mound along with the edge of the turf. The ten-foot board should be placed on its side so the mound supports its two-inch side.
- Dump a mound of clay’s wheelbarrow on the left side of the ten-foot board.
- Now, it is time to spread materials along the length of the board. If you find any extra substance around the board, it is recommended to remove it as it might cause extra build-up that will make the board too heavy to move.
- After spreading even materials, you need one more person to process further. One person must handle the top of the ten-foot board near the pitcher’s rubber. Another person’s duty will be to handle the bottom of the same board at the edge of the mound.
- Move the ten-foot board up and down in a sawing motion over the four-foot board. Ensure that you keep the ten-foot board precisely on the four-foot board so that no damage occurs to the edges of the plateau. So, this movement must be done carefully and with complete control.
- While doing this short sawing motion, slowly move the board to the other side of your outlined landing area clockwise. While in this moving process, you might notice some low spots in the surface that need to be corrected.
- For this, get the board on the right side of the low spot and bring the mound-building clay to your board in front of that low spot. Now, begin with your previous sawing motion again. Repeat this process for every low spot you find.
- After the completion of sawing movement all over the plateau and the mound, you can measure the slope accuracy of the mound with the help of a mound slope board.
- Once you are sure that your landing area has been built accurately, aggressively tamp the area to add more firmness.
Finally, add MoundMaster Blocks or Turface Professional Mound Clay in the high-wear areas.
Condition the Mound
After building a pitching mound, you would want to make it last longer in the same way.
You can use products like Turface MVP League or Turface Pro League and lightly cover the mound.
Use a landscape rake for this process. These products will keep the mound moist and slippery-free. Once you use a bag or two of the products on your mound, use a hand roller and roll the mound.
No products found.
At last, cover the mound with a tarp. This tarp will retain the moisture in your mound and not let it dry.
Also, it will help prevent washing into the turf. No matter which type of mound you plan to build, whether the bullpen or field mound, both should be taken care of in the same way.
When Are You Getting Started?
If you have not yet planned on building a pitching mound in your field again, it is time that you do. Understanding the importance of a good pitching mound and maintaining it is crucial for every person who loves baseball. It provides a safe and enjoyable game to every player. So, step out in your field and give that pitching mound a fresh look today.