
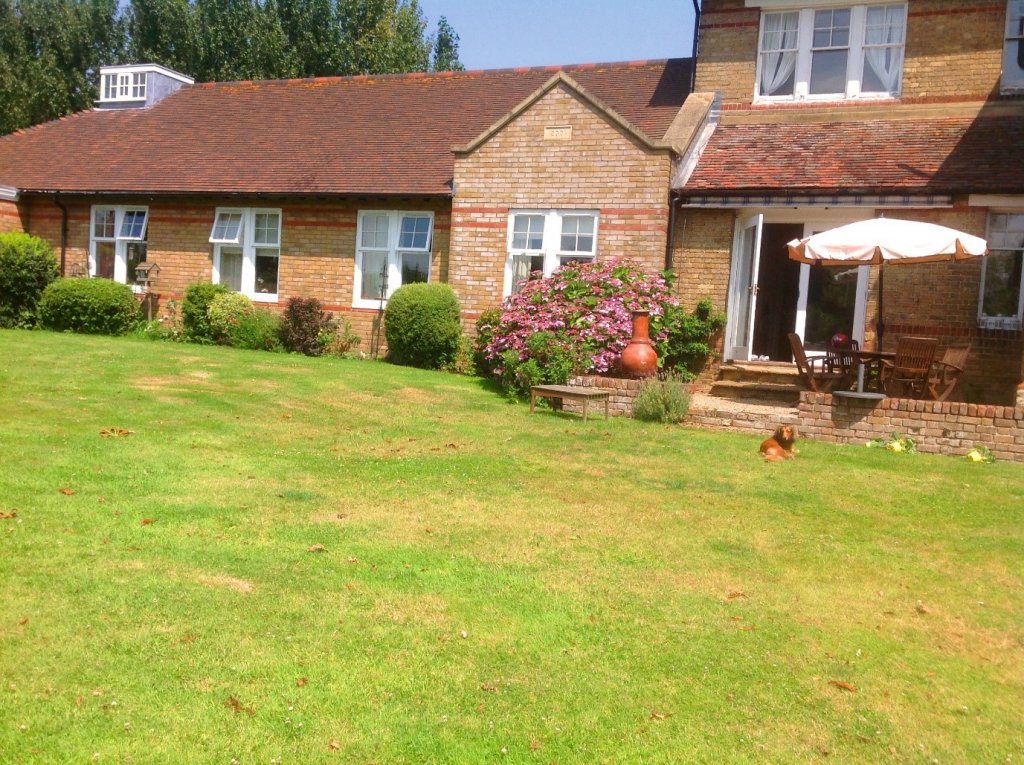
Size matters when it comes to yards. In case your yard is not pleasant to look at, has an uneven surface, gives you a hard time mowing, or has low spots, you should probably get it leveled or graded.
This will improve not only your yard’s appearance but also its drainage. In this article, we will look at why you should get your yard level and how so. Now that is no small chore. It takes a lot of your time, effort, and money. Let us get started.
How Different Is Level A Yard from Grading One?
Often, they are confused with being the same. The reality is far more different. To begin with, note the definitions of the two
Grading is a process in landscaping terminology used to refer to the slope of a yard away from a home’s foundation.
Leveling- it is the process of even-toning a smooth surface in a yard or a lawn.
Both are equally important when it comes to the beautification of a yard.
Why is it essential to grade a yard?
For any home, excessive water is an enemy. The excess water is often the result of heavy rainfall. This water has to be drained off away from your home, preferably to the yard. To protect your home from damage, you need to drain the water, which needs grading correctly. A yard with fine grading prevents the water from pooling in potholes in and around your home.
It ensures that the water moves away from the foundation of the house. Home inspectors often check the yard grading before anything else when you are looking to buy a house. You have to take care of grading.
What About Leveling a Yard?
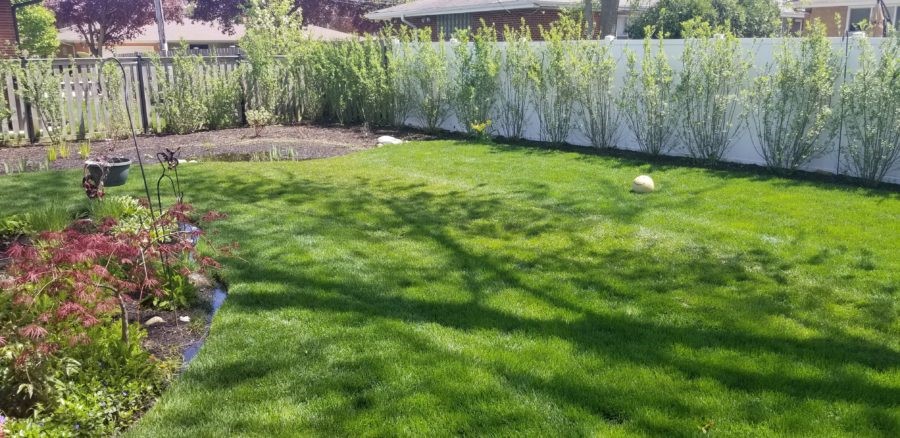
Leveling your yard not only makes it pleasing visually but also minimizes mishaps from happening. A well-leveled property has no puddles or waterlogging in any form.
It makes your Lawn more enjoyable and, in the process, makes it more mower-friendly. With due time, yards tend to grow uneven, more so if it does not have regular grading or leveling.
Lawns becoming uneven are generally due to the following reasons:
- Pests
- Careless work from the home builder
- Repairing by contractors
- Directional change in water flow
- Compaction caused by traffic in the nearby area.
- Thinning of grass
- Improper lawn maintenance
- Digging by pets or animals
What Are the Best Tools for Leveling And Grading A Yard?
There are several different methods you can choose to work with. You can either level, grade, have the best of both worlds, or improve your Lawn’s health in general.
Some of the ways to work are:
- You can use compact walk-behind tools and hand-used tools for minor repairs in your yard
- For big projects, hiring large machines like excavators or bobcats will save you a lot of time and energy.
Most people use the Do-It-Yourself approach to get it done, some of the most widely used tools to level yards are as follows:
- Push broom
- Mulch or topsoil
- Cart or wheelbarrow
- Sand
- Compost
- Lawn Roller
- Any kind of level- line level, carpenter’s level, bricklayer’s level, or even a string level
- Ball of string
- Four stakes
- Flathead shovel
- Dethatching machine
- Lawnmower
- Landscaping rake
- Thatch Rake
- Tiller
What Are the Steps to Grade A Yard?
Grading a yard is much more complicated than it sounds like. However, a pretty decent job at grading can be done by simply using your observation and some common sense.
It is recommended that:
- You notice and make a note of low spots around the foundation of your house by simply walking around it.
- Find your yard area’s current slope.
- You can choose to fill places that do not match the slop with dirt and bring them to the same consistency as the rest of the area.
What Are the Steps to Level A Yard?
Leveling and grading are complementary to each other. So before you begin with the process of leveling your yard, make sure it is well-graded. This will make sure you don’t have to repeat the work done and, of course, will save you your time, energy, and money. Therefore, begin leveling only after completing the process of grading.
Usually, the process of leveling takes one day’s work, of course, depending on the size of your yard. It can be done via the following methods:
- Find out the areas of the Lawn that need leveling. This will prevent you from unnecessary digging. It also brings down the cost factor by a mile. Re-seeding only the places where needed is much cheaper than doing so to the entire Lawn.
- After that, spare your Lawn a quick mow. This time around, trim it slightly shorter than the habit.
- Once mowing is done, take a walk in your Lawn, find out the areas are groovy, bumpy, or have ridges in them. You can prefer to mark these areas to help relocate them later on.
- Decide the amount of thatch on your yard. Remove any present thatch present on your yard next. You can use a thatch rake or can pull it up. If you have a vast lawn, you can rent a professional’s machine to dethatch it.
- You can employ topsoil or topsoil mix (you can choose a 50-50 mix of loam and compost. Any local nursery might deliver that in bulk) to cross out low spots. Use a shovel to bring down the bumps. A mix of two portions of sand, two portions of topsoil, and one part compost can be very effective in this regard. The sand helps sustain a level yard of your Lawn while the topsoil and compost supply nutrients essential for the growth of glass.
- In low spots or divots deeper than two to three inches, dig up the grass, fill it up with pure topsoil, or mix topsoil. Replace the turf and press it right down on top of the mix.
- After adding the topsoil, use a rake or a lawnmower to flatten the consistency of the yard.
- The new soil should, after that, be watered. Excessive watering might be puddling or a run-off.
- Soil redistribution is essential in this stage. Take a shovel and bring the entire area to the same level. By reusing the dug-up soil from the low spots, you can save some healthy money. Besides, this process is more eco-friendly as well.
- If need be, use a tiller to fragment the top of the soil. This gives you more surface area to work with. This step loosens the soil and makes it easier for you to work. That comes real handy while dealing with a large yard, especially if you are leveling it.
- You can choose to use the four stake and stake out the part of the land you would like to level. Drive the stakes in all four corners of the section you want to level. Tie the ropes to the stake and, in the process form a quadrilateral. Fix the line-level to the ropes and measure every 3 to 5 feet to have an idea of which areas need raising and which areas need lowering. This will make sure you do not overwork more than you need to.
- The back of the rake can come in handy to flatten the soil. Make good use of that.
- Before sowing the seed, it is very important to water your newly leveled soil. More effectively, using a soft oscillating sprinkler. This helps the topsoil to settle and also allows you to compensate for any depression or air pockets that may exist.
- After that, spread your fresh sod or get ready to shower your Lawn with new seeds.
- You might have to apply more than once to complete the leveling process, more so if your yard is huge. Keep a close eye on the growth of the grass from the time of sowing seeds to determine the need for more leveling to be done.
What Is the Best Time to Get the Lawn Work Done?
The optimum time to level or grade your yard is early fall. You can have a good time doing lawn work in the period of mid-spring to late spring as well. Especially when the lilac blooms.
Fall is the preferred season for many, mainly due to the soil being warm enough for steady germination. The grass gets enough time to grow and develop roots in the mild heat to prepare for the cold winter.
Conclusion on How to Level A Yard
The theoretical part of it sounds convenient. However, in practicality, you will have some unforeseen troubles. There are a couple of things you should not forget before taking up the lengthy project to save you precious money and energy.
- Before you start to dig, make sure you call the local authority to have underground infrastructures marked in and around your property.
- Ensure that the ground is easy to work with before you begin the project. Consider using a tiller to make the job easier and the ground smoother. If there has been no rain, water your ground well the day before you start working. This will also curb the dust blowing your entire property off.
- Please wear closed-toed boots. Working with tools can be very dangerous, especially for your feet.
- Address the problem that is causing you to level the ground. Make sure the same does not recur anytime soon.
- Trim the grass before you start the hard work. Please avoid visible grass stems, there must be enough leaf for the grass to grow back and regain its rigidity.
- Prior to leveling get rid of any perennial plants that you have on your Lawn. These plants are sturdy but will regrow quicker than expected. You can try any artificial or natural fertilizers available in the local store when they start to recover.
- Cover the area with a thin layer of hay or compost as mulch over the barren areas while sowing the seeds. This prevents erosion of the soil, stops excessive growth of weed, and keeps the seeds moist.
- You can place stones to form back-fill soil. This allows a more effective slope for the base of the new soil. The stones will create a wall that stops the loose soil particles from eroding.
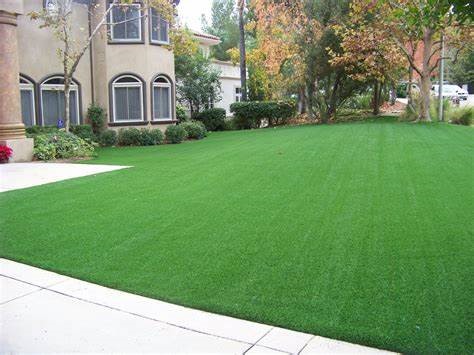
Planting A Lawn Turf
Many people use artificial rubber turf as a substitute in place of sod or natural grass. If you are planning to use synthetic or artificial turf, the best artificial turf is one that enhances your current landscape. Be very careful about the grass you choose and its blade, density, and height.
Ensure that the grass carpet is porous enough if you choose to place it in areas where there is water in the vicinity of the area. Ensure the plants and trees go hand-in-hand with the existing plants in your Lawn. We can, however, recommend you our suggestions. The best-suited plants that go with artificial turfs are:
- Cacti
- Succulents
- Perennials
- Annuals
- Shrubs
- Trees
- Native plants
Nevertheless, there are plants artificial turfs are not compatible with. Bamboo is a fine example of such kinds. Bamboo grows by effusing rhizomes, which can alter the way your yard looks and feels. It adds to the artificial turf a displeasing texture. To be on the safe side, you should hire a professional to set up the synthetic turf for you.
Since they can prepare the ground better, there will be no risk of unwanted, wild herbs growing under the turf. Ideally, it would help if you placed a weed barrier under it. Not only does it keep a check on unwanted growths, but it also is perfect in drainage.
The one significant advantage of using artificial turf is the beautification factor, too, with minimal maintenance. While natural grass takes a lot of hard work, the synthetics bypass the chemicals and varnishes.
In the end, whichever way you choose to decorate your Lawn, make sure it feels at home. Happy gardening!