
As a mother, we want to protect our children from everything toxic and unsafe, whether the food they eat or the things they play with. Sometimes, better and safer alternatives are easily available, but we often have no choices. In those times, we can try to create our baby-safe products, and today, we will show you how to make slime at home.
Slimes are a recent hit among kids and are also great for Sensory play. Unfortunately, the ones available everywhere are unsafe for kids; they are full of toxic colors and synthetics.
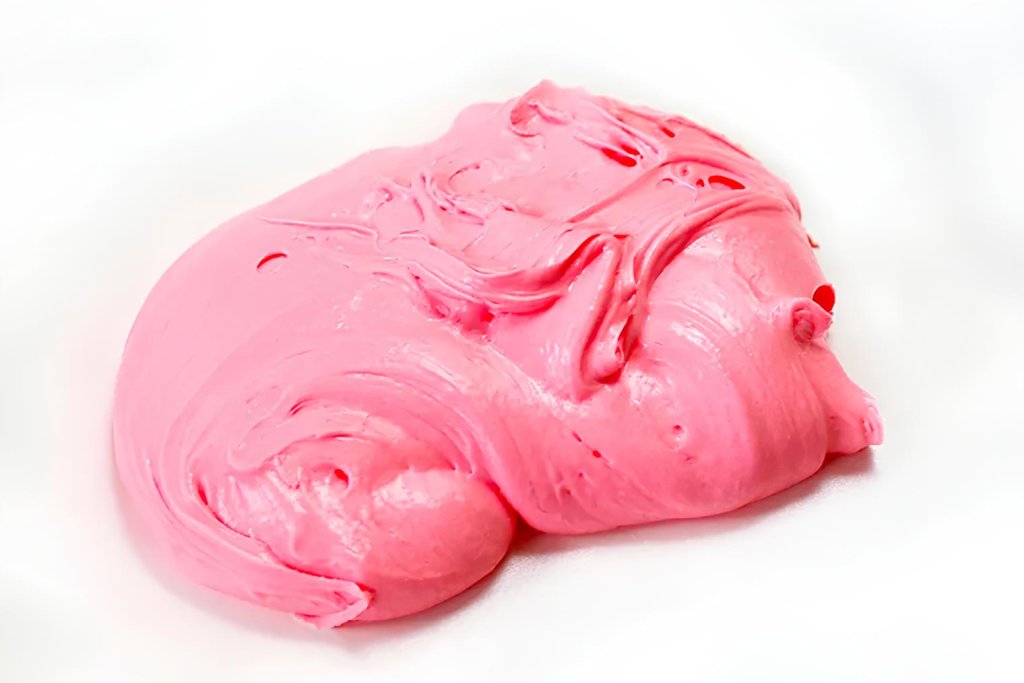
So, let’s learn how to make slime at home in three ways with non-toxic ingredients like food coloring and safe glue.
Materials Required to Make Slime
- Plastic tub
- Glass bowl
- White school Glue
- Warm water
- Food coloring
- Borax
- Plastic bag or container for storage
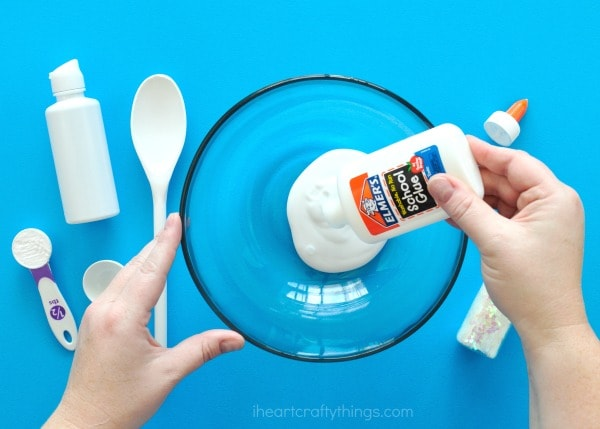
Step 1

Let your child squeeze up to half a cup of glue into a glass bowl and mix an equal amount of warm water.
Step 2

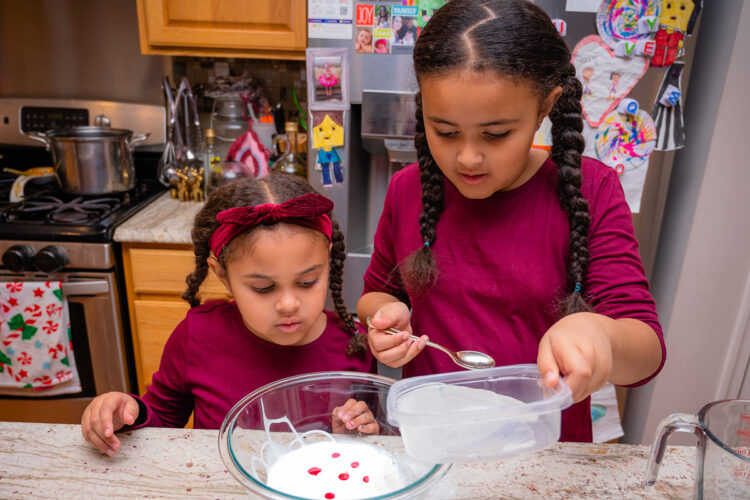
Let your child add a few drops of food coloring to the glue-water mixture.
Step 3
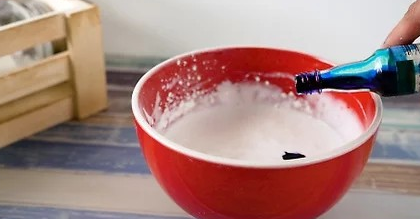
Mix one teaspoon of borax powder in a different container filled with half a cup of water. Then, slowly add this solution to the glue mixture and keep mixing simultaneously as the mixture keeps thickening.
Mix in one direction only, and you may not need all the borax solution; stop when you feel you have the right consistency.
Step 4
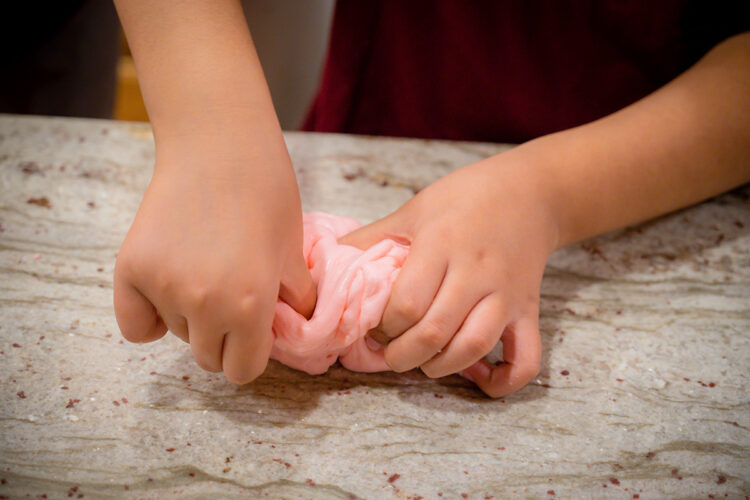
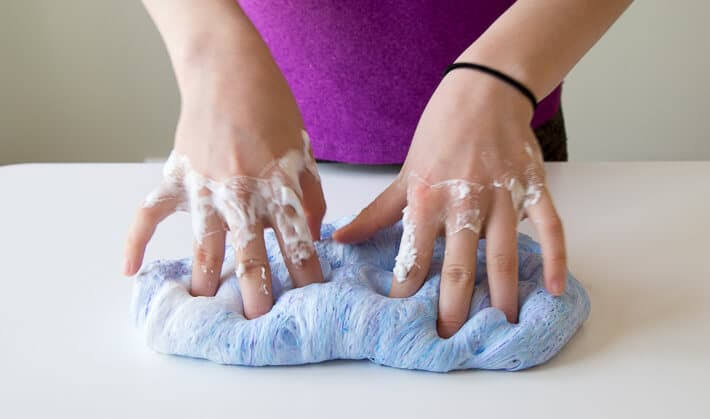
Take the solution out of the bowl on a flat space and start kneading. You may ask your kids to join in. Keep kneading until you have an easy-to-push-and-blob of slime.
It may initially feel sticky and gooey, but it will come together gradually.
Step 5
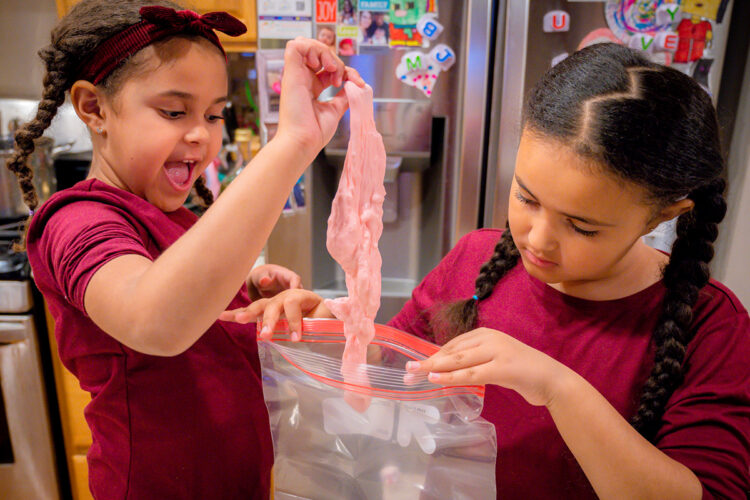
Store it in a plastic zip lock bag or an air-sealed container. This recipe contains borax, which is soap and, hence, is not safe for kids; if you are looking for a recipe without borax featuring safe glue for DIY crafts, the next one is just that!
Materials Required to Make Borax-Free Slime
- Four bottles of white, non-toxic school glue
- One and a half TBSP of Baking soda
- Food coloring
- 3 TBSP contact lens solution
- A Big Mixing Bowl
Step 1
Pour the entire content of white glue into a mixing bowl, add baking soda to it, and mix it well.
Step 2
Add the color of your child’s choice in the desired quantity. The more you add, the darker the color gets.
Step 3

At first, only add one tbsp of contact lens solution and mix some more. Now, you will notice that the slime has gradually started to form. Then add half tbsp of solution again only if you feel the mixture has not come together.
Step 4
Take the slime out on a platform or a table and start kneading with both hands.
Step 5

If the slime feels too sticky, pour just a little (one-fourth TBSP) of contact lens solution and knead it some more to make it less sticky.
Note that this needs to be done in adult supervision, and the child must be at least four years of age. But this slime-making recipe is so easy that you can sit and instruct your children, and they can do it themselves. The best part is that these products are easily available and kid-friendly.
If your kid is small and tends to take slimy hands in the mouth while playing, we also have an edible slime recipe. Your kid can play with it; you do not need to worry even if he eats it.
Materials Required to Make Edible Slime
- 2 cups water
- Three heaped teaspoons of tapioca flour or starch
- Saucepan
- Wooden spoon
- Heat-safe mixing bowl
- Food coloring
Step 1
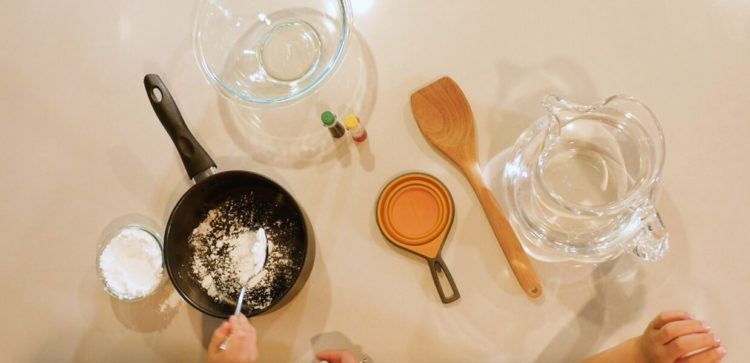
Combine water and tapioca in a saucepan and stir continuously until dissolved. Then add five drops of food coloring.
Step 2
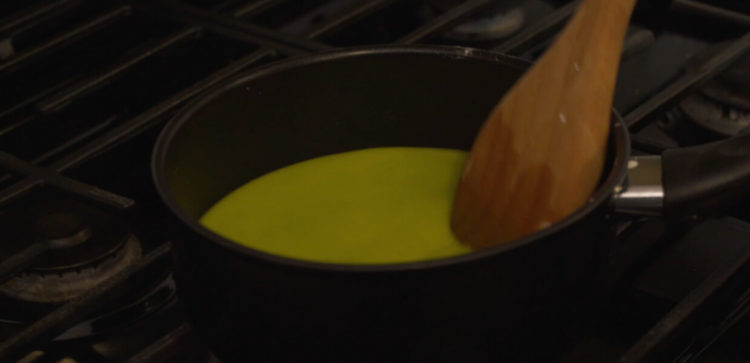
Keep the heat on medium and keep stirring continuously until it boils. The mixture will slowly convert from opaque to transparent.
Step 3

Turn the heat to lowest and let it cook for 5 to 10 minutes. When the mixture starts thickening, keep scraping it from the sides and bottom.
Step 5
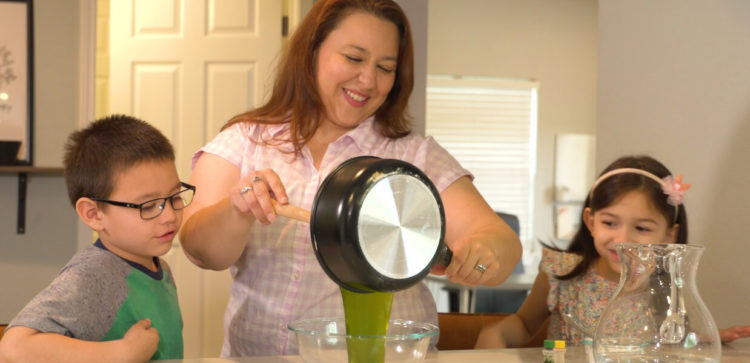
That’s it! Your edible slime recipe is ready. Now, you can let your child play to its heart’s content with this slime without worrying.
When the slime is thick enough, transfer it to a bowl and let it rest overnight to get more gooey after cooling down.
Things to Keep in Mind
- To easily separate slime, use scissors because cookie cutters won’t work.
- Do not let your kids be alone; always be around them to observe and instruct.
- Always store slime in air-tight containers, or it will get harder and will be of no use.
- Life if these slimes are around for two weeks, throw it away after that and make a new batch.
Conclusion
Slimes are not only fun to play with, as kids can squeeze, pull, and stretch them, but making it with your kids is so much more exciting.
You get to spend quality time with your kids while learning how the mixtures blend and how the slime gets its color. All of this without worrying about your child playing with toxic synthetic!
You can even organize a slime party for kids where all the kids together make slime of their favorite colors to play later with.
This is a great birthday party idea; the best thing is that all these materials are easily available.
Pick the best way you like and get along with your kids today for fun DIY slime time!