
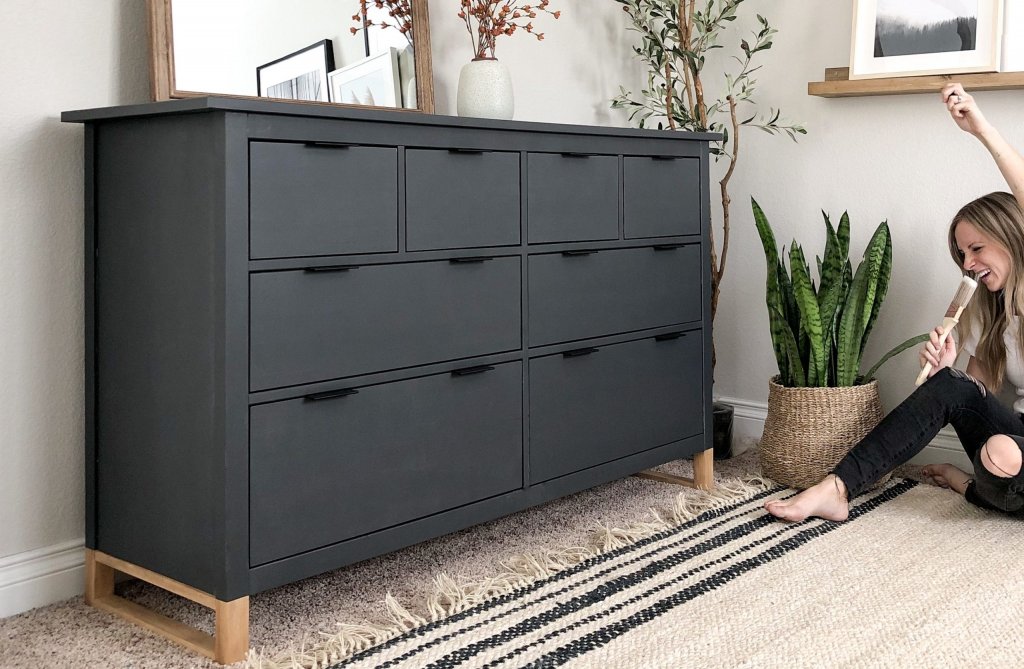
Furniture is one of the first and most essential things in your house to make it perfect.
Furniture can be defined as movable articles or accessories used to make a place suitable for living and working, such as tables, chairs, beds, cupboards, etc.
Do you know furniture is used to support human needs? That is why it must be durable, but no matter how much durable furniture you have, it is still fragile at that time.
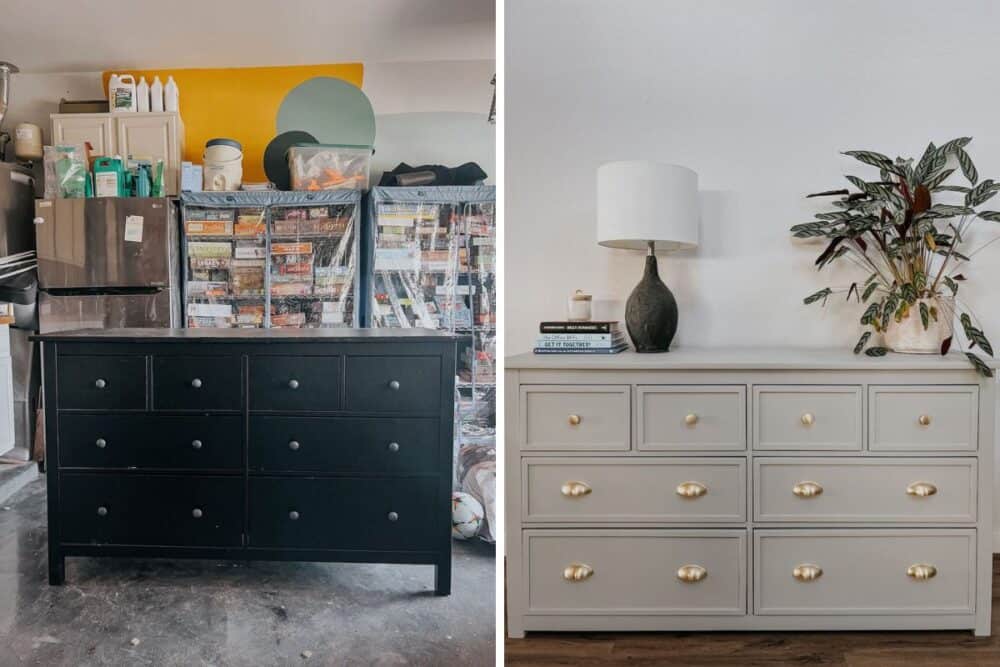
Does getting older day by day make your furniture kind of weak and uglier?
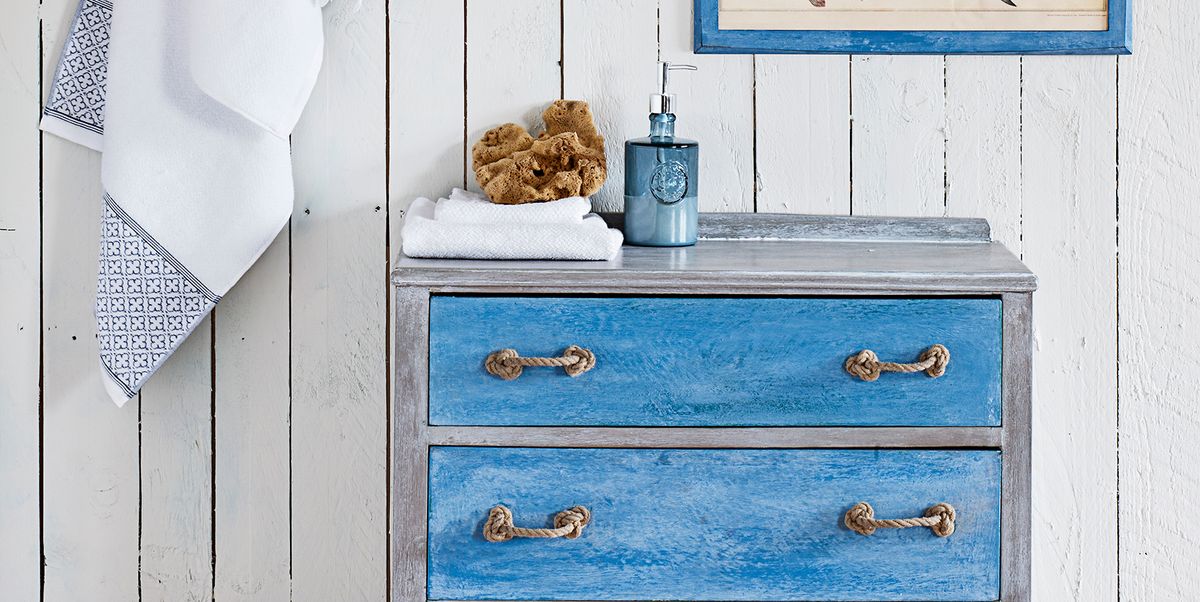
If you ever dreamed of updating your old furniture, if you did, then you know a painting is one of the best ways to update your furniture.
This article is about painting IKEA furniture hemnes, and we will tell you how to do it.
Moving further, we will tell you what chalk paint is and what material you need for painting IKEA furniture hemnes.
What Is Chalk Paint?
Furniture paint comes in several varieties and varies based on its uses and features.
Chalk paint is a decorative paint that is ideal for furniture. It is an exclusive furniture paint that creates a chalkboard-like coating to give your furniture a fantastic look.
Annie Sloan’s paint brand created it, and when Annie Sloan first introduced chalk paint, it became the first official chalk paint manufacturing company.
Chalk paint was created to reduce dependence on effort. Hence, it rarely requires much preparation, such as priming, sanding, cleaning, etc.
Generally, it is an easy-to-use and reliable furniture paint, and you can use it indoors and outside; it is not waterproof, but that does not make it unusable or idle outside.
Materials Required to Paint IKEA Furniture Hemnes
We had told you before that chalk paint was specially created to reduce your painting efforts.
Hence, it does not require much preparation, such as sanding, priming, Etc.
But remember, if you are updating your old furniture or painting your old IKEA furniture hemnes, you must do a lot of preparation and need various materials to succeed.
Here, we list every material you need to paint IKEA furniture hemnes.
- Sandpaper or hand sander.
- If your furniture has holes, then you will need wood filler to fill the holes.
- Wood filigree if you want extra decoration.
- Tack cloth or anything else to remove dirt.
- Wood glue to paste wood filigree.
- Chalk paint.
- Creme wax.
- Chalk paintbrush.
- Soft cloth to wipe after wax rub.
- New knobs for hemnes if you wanted to change old ones.
Now, we will describe the complete process of painting IKEA furniture hemnes.
Step-By-Step Process of Painting IKEA Furniture Hemnes
Step 1: Prepare the Furniture
The very first step in the process of painting IKEA furniture hemnes is preparing the furniture.
Updating your old IKEA hemnes will not be easy for you because it requires a lot of effort to prepare for the chalk paint.
First, you must start with removing the knobs off drawers and dressers.
Then, you must move towards breaking the old paint layer, i.e., sand off the old paint layer to apply the new one.
If you did break the old paint’s layer, new paint could be applied nicely and offer a fantastic texture.
You know sanding is not an easy process. It takes a lot of human effort.
You can use a hand sander or sandpaper to sand off the old paint layer, but we prefer you to use both because you will need both.
Some portions of your IKEA furniture hemnes are difficult to cover by hand, Sander, so you will need sandpaper.
First, you must go with a hand sander and then use the sandpaper for the left area to remove the paint layer.
Step 2: Fill Up the Holes
After sending the furniture, you may see many holes and bloated portions on the furniture surface.
So, filling up the holes and removing the bloated area is crucial to painting IKEA furniture with chalk paint
If your furniture has a bloated portion, then the first thing you must do is break that portion, making a tiny hole.
After that, all you have to do is to fill up the holes. There are plenty of ways to fill the holes, but using wood filler is one of the most common and easiest ways to fill wooden holes.
To fill the holes in your IKEA furniture hemnes, you must buy a wood filler from any reliable brand to fill the wooden holes.
It would help if you pour some wood filler into the holes, ensure the hole is filled with wood filler completely, and then wipe out the top with any plastic or metallic plate.
Keep it aside to dry, as the holes in your furniture get filled due to this drying session.
Step 3: Clean the Furniture
As you have done sanding to break the old paint layer and fill up the wooden holes, the next step is to remove the dirt from the furniture and clean it thoroughly to move further.
One of the best ways to clean the furniture is using tack cloth because tack cloth was specially designed to pick up all the dust and dirt particles from the surface.
A tack cloth is a soft piece of reticulated cloth with linseed oil, making it efficient in dust cleaning.
As you already noticed, while sanding off the old paint layer, there was so much dust produced that no matter how well you wiped out your furniture, to apply paint or add applique, you have to clean it with a tack cloth.
To clean furniture, cut or take a small piece of tack cloth and rub the furniture slowly. It can easily remove tiny dirt particles.
Step 4: Add Wood Appliques
There are plenty of items you can apply to your old IKEA furniture hemnes while painting them to provide a new look to your furniture, and applying wood appliques is one of them.
Wood appliques are hand-made wooden plates with the face of the leaf, flowers, petals, etc.
Wood appliques are easy to add to the furniture; they have a decorated face and plain back, and they can be applied by attaching their back to the furniture.
When you prepare your furniture for paint and do all the cleaning, that is the right time to add wood appliques.
The best way to add wood appliques to the furniture is by using wood glue.
All you must do is apply a little layer of wood glue on the back of your wood appliques and put that wherever you want on your IKEA furniture hemnes.
Step 5: Add the First Layer of Chalk Paint
After adding wood appliques, your furniture hemnes is ready to get the first layer of paint.
Chalk paint drips less than regular paints and dries faster than regular paints, so you must move your hand quite faster.
When you are painting your furniture and want a simple texture, remember you must stroke just in one direction, but if you want a messy texture, you can stroke in several directions.
While painting, if you see any spots or rough particles, go back, remove or press them, and then apply paint again.
Just in the same way, go for the drawers. When you apply the first layer of paint, then let it dry.
Step 6: Use Candles to Highlight Spots
Using candles to make some highlighted spots is very easy; if you want to do so, this step is only for you.
Rubbing a white candle on the surface of your furniture’s hemmer creates a skinny layer, and when you apply paint on it, it makes the surface a little patchy.
Any place you wanted to make highlighted or wanted your base color to show off, then rub the white candle over it.
People used to highlight the edges and corners of their homes, so they rubbed the candles on the edges and corners to highlight them.
The thicker you make the wax layer, the more you can remove paint, so apply wax there wherever you want your base color to show off.
Step 7: Add the Top Layer of Paint
After applying the wax layer to make patchy spots, you next have to apply the paint’s topmost layer.
Chalk paint dries fast, so you do not have to wait so long to dry the first layer. That means you get to wait a maximum of 30 minutes.
To apply the top layer of paint, you must use a chalk paintbrush of acceptable quality to get a good texture.
Remember that when applying a paint layer on the top of the hemnes, you must stroke in just one way because the top will look ugly if you make a messy layer of paint.
Step 8: Sand Again
When you realize that the second or top layer of your paint is dried, this is the time to sand again.
This sanding session is needed to remove the way you applied earlier, so to do so, you will need high grit sandpaper, or you can use a wet piece of paper towel.
Remember one thing: You are doing this to make your base paint show off so you do not have to rub so hard; make gentle strokes, and wipe out the chalky powder after every rub.
Step 9: Wax on And Wax Off
Now, you have done all the painting so we will tell you how to add more strength to your chalk paint layer so it cannot be scrapped or removed accidentally.
And this is the last but not the least important step of painting IKEA furniture hemnes. The chalk paint wax comes in different colors, but clear white is one of the most usable.
To add resistance against the accidentally scrapped, apply a skinny layer of chalk paint wax to your furniture.
You must dip your brush in the chalk paint or pour some on the surface, then make a thin layer of it by using the brush, and then wipe it off.
It adds more strength to the top paint layer, so apply a thin layer and wipe it off with a soft, dry cloth.
Step 10: Buff the Furniture and Add Knobs
After adding the wax and wiping it off, the last thing you get to is buffing your furniture. It can be done by either using lubricant or without it.
All you must do is take a piece of a soft cloth and rub the surface very smoothly.
When you are done buffing, adding the knobs is the last barrier for enjoying your new IKEA furniture hemnes.
So, add the knobs to your hemnes, and then your new furniture is ready to use.
Safety Tips for Painting IKEA Hemnes Furniture
Painting furniture, like IKEA Hemnes, can be a fulfilling DIY project. However, ensuring safety during the process is crucial to avoid health hazards or accidents. Here are essential safety tips to keep in mind:
1. Wear Protective Gear
- Respiratory Protection: Always wear a dust mask or respirator when sanding and painting. This prevents inhaling harmful dust particles and fumes from the paint.
- Eye Protection: Safety goggles are a must to protect your eyes from dust and paint splashes.
- Hand Protection: Use gloves to protect your skin from paint and chemicals, especially if you use solvent-based paints or sensitive skin.
2. Ensure Proper Ventilation
- Work in a well-ventilated area to avoid the buildup of paint fumes. Open windows and doors or use fans to circulate fresh air. This is particularly important when using oil-based paints or solvents.
3. Mind Your Surroundings
- Keep your workspace clutter-free to avoid tripping or spilling hazards.
- Ensure proper lighting to see clearly while working and avoid mistakes or accidents.
- Keep children and pets away from the work area to prevent them from inhaling fumes or coming into contact with paint and tools.
4. Handle Paints and Solvents Carefully
- Read and follow all instructions and safety warnings on paint cans and solvent containers.
- Avoid eating, drinking, or smoking while painting to prevent ingesting harmful substances.
- Store paints and solvents out of reach of children and pets and away from heat sources.
5. Be Cautious with Power Tools
- If using electric sanders or other power tools, ensure you understand their operation and safety features.
- Always unplug tools when not in use or when changing attachments like sandpaper.
6. Proper Disposal
- Dispose of paint waste and cleaning materials responsibly.
- Follow local regulations for disposing of hazardous waste.
7. First Aid
- Keep a first aid kit nearby in case of minor injuries.
- In case of exposure to harmful substances, follow the first aid instructions on the product label and seek medical attention if necessary.
8. Dress Appropriately and Take Breaks
- Wear old clothes that you don’t mind getting stained. Long sleeves and pants can offer added protection.
- Regular breaks are important to avoid fatigue, especially during lengthy projects. This helps maintain focus and prevents accidents.
Conclusion
To summarize, this guide gives you all the steps to paint your IKEA Hemnes furniture and make it look new again.
Initially, it might seem like a big task, but it’s a fun way to make your old furniture look great.
Following these simple steps, you can give your furniture a personal touch and make your home feel more like you.
Remember, painting isn’t just about changing the color; it’s about enjoying the process and being proud of what you’ve done.
So, grab your paintbrush and prepare to give your IKEA furniture a fresh look.
We can’t wait to hear about how your project goes. Happy painting!