
Dealing with old, dated tiles in your bathroom or kitchen can be frustrating. They can make the whole room feel out of style, and that’s not a great feeling.
It’s more than just a cosmetic issue; it can affect how you feel about your home and even your day-to-day mood.
That’s why we’ve written this article. Our goal is to help you find a way to update your bathroom and bring it back to life. You deserve a space that feels refreshing and modern.
We understand that replacing tiles is often the biggest hurdle in how to cover bathroom tiles. It’s usually a costly and time-consuming process.
But don’t worry, we have some good news. In this guide, we’ll introduce you to several alternatives to tile replacement. These methods are easier on your wallet and don’t require as much effort, making your bathroom renovation much more straightforward.
The most important aspect you need to keep in mind is to see waterproof solutions. Something that can withstand high humidity and moisture levels created by showers and sinks.
Here are some easy ideas that need as little as possible effort to remodel your bathroom in almost no time.
- Waterproof Painting
- Wall panels
- Quick setting cement
- Beadboard panels
- Shower curtains and surround kits
- Wallpapers and wall stickers
This is a quick list just to give you an idea of the content. Please read further to learn about each solution in detail.
1. Painting the Tiles
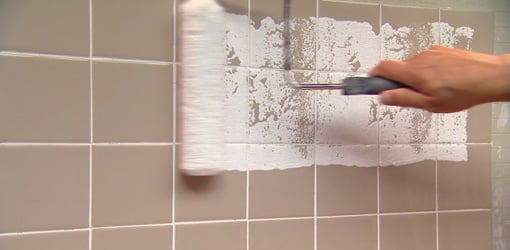
An easy and cost-effective way to change the look of your bathroom is by painting the tiles. Nowadays, there’s a variety of waterproof tile paint specifically designed for bathrooms.
These paints come in different finishes, including glossy, satin, and matte, allowing you to choose according to your bathroom’s style and needs.
Some paints are also designed to prevent mold growth in the grout, which is a common bathroom issue.
Before you start painting, it’s crucial to prepare the tiles properly. Here’s a simple step-by-step guide:
- Clean the Tiles: Start by removing any dirt, soap scum, or residue from the old tiles. Use a high-quality bathroom cleaner and scrub the tiles thoroughly. After cleaning, let them dry completely.
- Sand the Tiles: To ensure the new paint adheres well, sand the tiles with 180-220 grit sandpaper. This process helps to roughen up the glossy surface of the tiles. If you have access to a sander, it can make this step easier, but hand sanding is also effective.
- Remove the Dust: Sanding will create dust, so it’s important to wipe down the tiles with a damp cloth after sanding. Ensure the tiles are completely dry before proceeding.
- Apply a Primer: Choose an epoxy paint primer to protect the tile surface from future cracking and peeling. Apply the primer evenly across the tiles using a foam brush and allow it to dry as per the manufacturer’s instructions.
- Painting: For acrylic latex paint, apply two coats to achieve a durable finish. Make sure to let each coat dry thoroughly. If using epoxy paint, follow the manufacturer’s instructions carefully. Epoxy paint is great for tiles but be aware that color choices may be limited.
By following these steps, you can give your bathroom tiles a fresh, new look without the need for a complete overhaul.
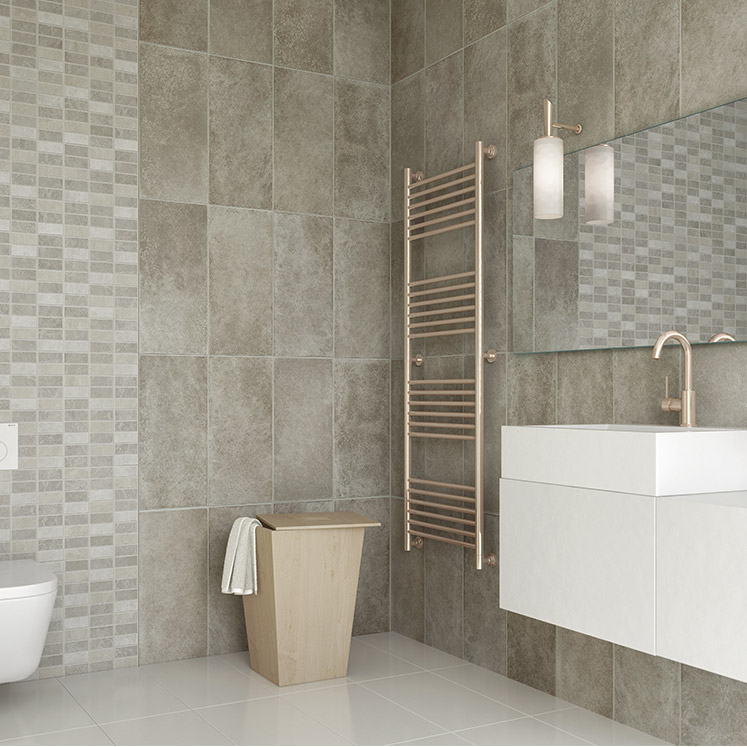
2. Wall Panels
3. Quick Setting Cement

An alternative method for covering bathroom tiles is using quick-setting cement, also known as fast-setting cement. This type of cement is uniquely formulated to harden rapidly, typically setting within 10-15 minutes. It’s an excellent choice for reshaping surfaces quickly and effectively covering bathroom tiles.
Quick-setting cement is not just for speedy fixes; it’s renowned for its use in underwater construction and cold weather projects due to its rapid-setting properties. Its usefulness extends to repair work where it can be applied without disturbing the existing structure. Despite its fast setting time, it retains the strength and durability of traditional Ordinary Portland Cement (OPC). This cement is also water-resistant and requires minimal water for hydration, making it an ideal option for bathroom environments.
Using Quick Setting Cement for Tile Covering:
- Preparation: Before applying quick-setting cement, ensure the tile surface is clean and free from any debris or loose material.
- Mixing: Follow the manufacturer’s instructions for mixing the cement. It’s important to work quickly and efficiently as the cement sets rapidly.
- Application: Apply the cement evenly over the tiles. It can be used to level uneven surfaces or fill in gaps and cracks.
- Finishing: Once applied, smooth out the surface as desired. Be mindful of the quick setting nature and shape the cement before it hardens.
Quick-setting cement is a cost-effective and labor-efficient solution for those looking to cover bathroom tiles without a complete overhaul. It’s a practical choice for DIY enthusiasts and professionals alike, offering a durable and robust finish.”
4. Beadboard – Something More Unconventional
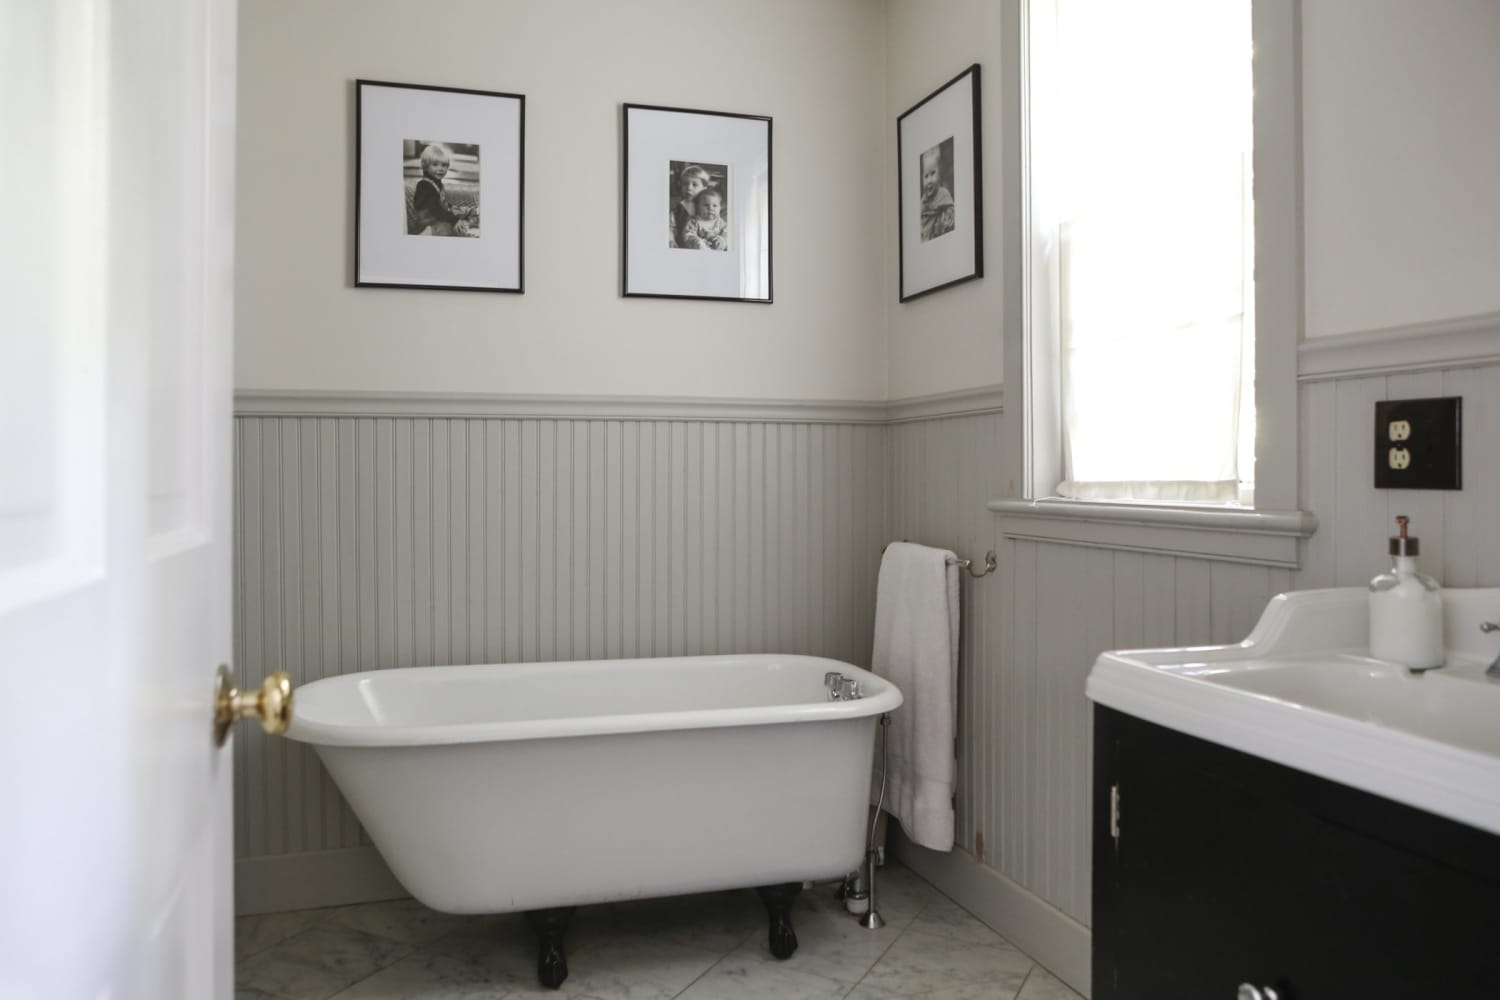
Beadboard offers a charming and classic way to cover bathroom tiles, bringing a unique aesthetic to your space. Traditionally used in kitchens and dining areas as wainscoting, beadboard can also create a striking effect in bathrooms.
Preparing and Installing Beadboard:
- Waterproofing: Before installation, it’s crucial to waterproof the beadboard. Apply a waterproof paint or sealant to protect it against moisture, which is especially important in a bathroom environment.
- Measurement and Cutting: Measure the area where you want to install the beadboard. Purchase large sheets and cut them according to these measurements, ensuring a precise fit over the tiles.
- Adhesive Application: Use a strong adhesive like liquid nails to attach the beadboard to the existing tiles. Apply the adhesive evenly and press the beadboard firmly against the wall.
- Securing the Beadboard: For added stability, use traditional nails along the edges. This not only secures the beadboard in place but also provides a neat finish.
- Moisture Prevention: It’s important to seal the edges properly to prevent moisture from getting trapped between the beadboard and the wall, as this could lead to damage over time.
Opting for beadboard is a fantastic way to add texture and character to your bathroom. It’s a low-cost alternative to tile replacement and relatively easy to install, especially if you have some basic DIY skills.
With beadboard, you can achieve an updated and visually appealing bathroom with minimal effort.
5. Shower Curtains and Surround Kit

For a more temporary and versatile solution to cover bathroom tiles, consider using shower curtains and surround kits. These are particularly suitable for rental properties where permanent alterations are not an option.
Shower Curtains for a Quick Makeover:
- Material and Installation: Opt for shower curtains made of waterproof materials like solid plastic or PVC. These materials are ideal for the damp conditions of a bathroom. For a neat and enduring setup, professional installation is recommended.
- Design Variety: The market is abundant with various designs and styles of shower curtains, enabling you to choose one that complements your bathroom’s décor seamlessly.
Surround Kits for Damaged Walls:
- Wall Panels: If the tiles are extensively damaged, bathroom wall panels, also known as surround kits, can be an effective solution. These kits should ideally be installed by professionals for optimal results.
- Mould Prevention: Before installation, inspect the walls for mould. If present, remove it thoroughly using a bleach solution and apply an anti-mould paint for extra protection.
- Moisture Management: Ensure that there is no moisture trapped between the wall and the shower liner or surround kit. Trapped moisture can lead to mold growth, negating the purpose of the renovation. Whether you’re opting for professional installation or doing it yourself, using high-quality adhesives is crucial for a durable and safe application.
Shower curtains and surround kits offer a swift and customizable way to transform your bathroom’s appearance. They provide an easy and effective method to cover up unattractive tiles, especially in situations where a complete overhaul isn’t feasible.
6. Wallpapers and Wall Stickers
For an effortless and quick update to your bathroom, consider using wallpapers and wall stickers. These are excellent for giving your space a fresh look with minimal effort, akin to simply applying a sticker.
Choosing the Right Wallpapers:
- Suitability for Bathrooms: Not all wallpapers are ideal for bathroom environments. Select wallpapers specifically designed for high moisture areas to ensure durability and longevity.
- Design Variety: From modern patterns to darker shades, there’s a vast array of options to suit any bathroom style. Opt for designs that resonate with your personal taste and the overall aesthetic of your space.
Benefits of Using Wallpapers:
- Longevity: If you’re planning a long-term renovation, wallpapers can be a cost-effective solution, lasting for ten to fifteen years.
- Flaw Concealment: Wallpapers are great for covering imperfections on walls, adhering quickly and seamlessly.
- Aesthetic Enhancement: Unlike single-tone paints, wallpapers offer a wide range of styles and patterns, allowing for more creative and personalized bathroom designs.
- Design Flexibility: The market is replete with designs catering to every preference, from subtle to bold patterns.
Considerations:
- Removal: The only drawback of wallpapers is the effort required to remove them once they become outdated or worn. However, this is a concern for the future and can be managed with proper planning.
Conclusion
With these methods and ideas, varying in cost and effort, you have the liberty to explore different designs or even combine two ideas for a unique look. We’ve detailed each solution to simplify your decision-making process.
Your creativity and imagination are the only limits to transforming your bathroom. Remember, good planning is key to any successful design endeavor.
Now, let’s start covering those tiles!”
Hi please send brochures on wall panel choices.
Can this be applied to floor tiles?
Can anything be applied to bathroom floor tiles?
Thank You